There are 2 methods you can use to add inventory into The Uniform Solution.
Method 1: QuickLoad
The QuickLoad feature offers a fast and efficient way to update your in-stock quantities by adjusting the stock level by one for each item scanned. Additionally, it allows you to print price tags as needed.
Important Notes:
QuickLoad does not retain a list of scanned items. For a paper trail, use the Receiving List method instead.
Items must be added to the inventory before using QuickLoad—either by downloading a vendor catalog or importing manually into TUS. Otherwise, an “Invalid Scan” error will occur.
QuickLoad is ideal for adding initial stock when first setting up in TUS.
When receiving items from Purchase Orders, create receiving lists linked to the respective orders.
1. Go to Activities > QuickLoad
• This will describe the QuickLoad Procedure and note important things to review before you begin scanning items.
• Once you review these notes and are ready to begin – hit “Continue”

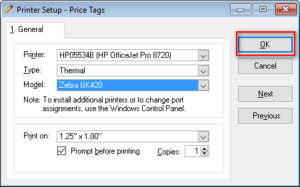
2. Set Printer Options
• If you plan on printing out tags for each item, you are scanning – you will want to set up your printer options before continuing.
3. Start Scanning in your items
• Once the Quickload activity starts – you can start scanning your items.

• Once you start scanning the items, they will start populating in the Quickload screen.
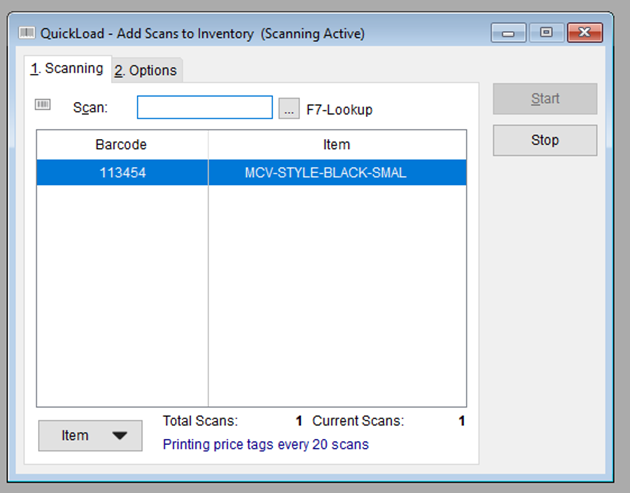
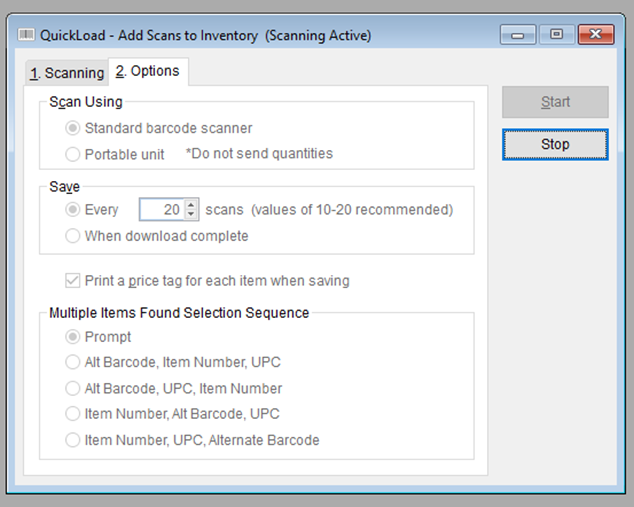
• By default, the stock quantity is automatically adjusted every time 20 items are scanned. If you wish to modify the number of scans required before the inventory count is saved, this setting can be adjusted under the Options tab in the Save section.
• You can also hit “Stop” to save what is currently added if it doesn’t hit the value in the “Save” field.
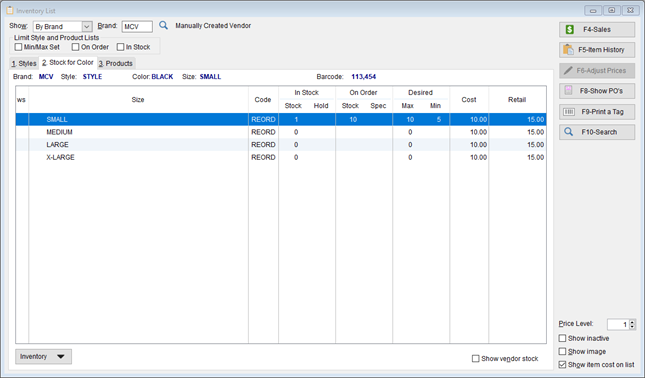
• Once you scan in your inventory items – you can then verify the stock within your inventory list.
• Ex. We scanned in 1 item and hit “Stop”. You will now be able to see the In Stock quantity adjusted by 1.
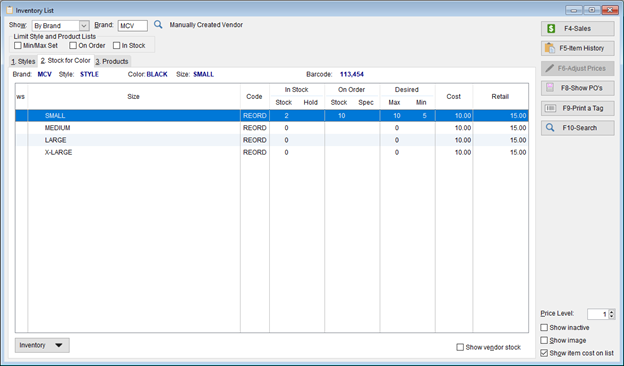
4. Verify inventory in Inventory List
• Go to Home > Item and selecting the scanned item
• You can see the stock count for the item’s color and size is adjusted by 1.
Method 2: Adding Items via Receiving List
Another way to adjust inventory counts would be by creating a Receiving List.
1. Go to Home > Receive
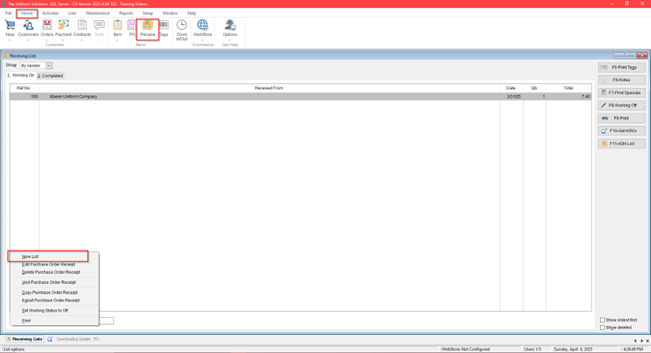
2. Create a Receiving by selecting List > New List
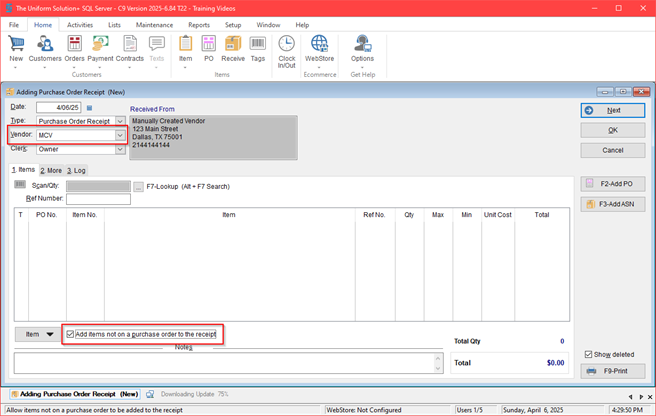
• When creating a new receiving list, you will have to select a few options before scanning:
-
-
- Vendor – For example, MCV.
- The option “Add Items not on a purchase order to the receipt” – if this option is not selected, you will not be able to use the Scan/QTY field
-
3. Scan in items for the vendor
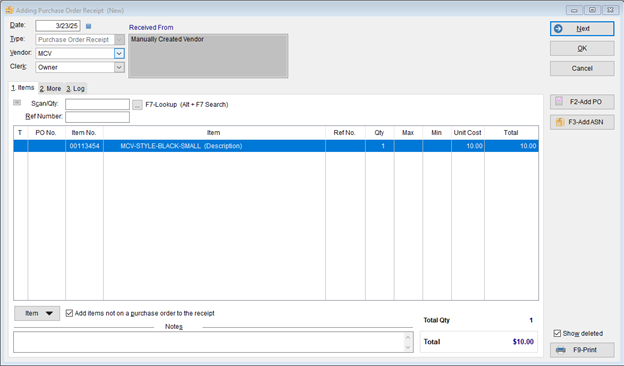
4. Save the receiving list by selecting “OK”
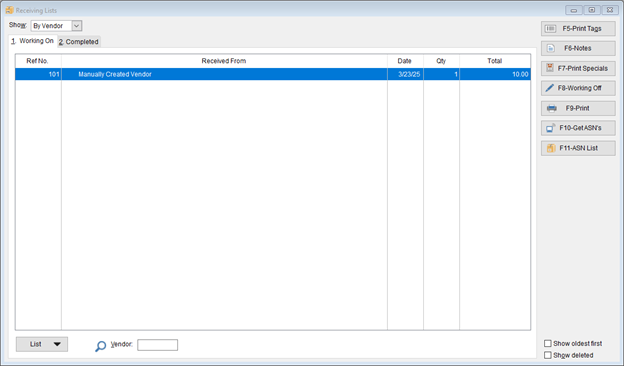
5. Verify the Stock Quantity in the Inventory List
• Go to Home > Item and selecting the scanned item
• You can see the stock count for the item’s color and size is adjusted by 1.
📌 Need more help? Visit our Training & Onboarding site, explore the Knowledgebase, or submit a ticket.