Add Third Party Billing on the Webstore
To add third party billing for sub accounts, first we need to make sure that the main account is setup properly. Follow the steps below to get started.
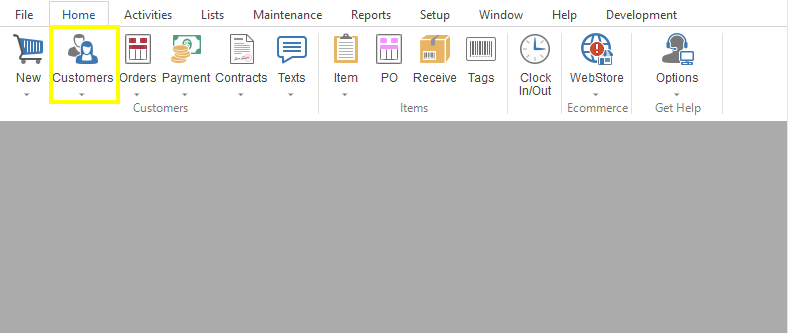
- In The Uniform Solution, go to your Customer List by clicking on Lists>Customers. You can also click on the Cust button the toolbar at the top of the program.
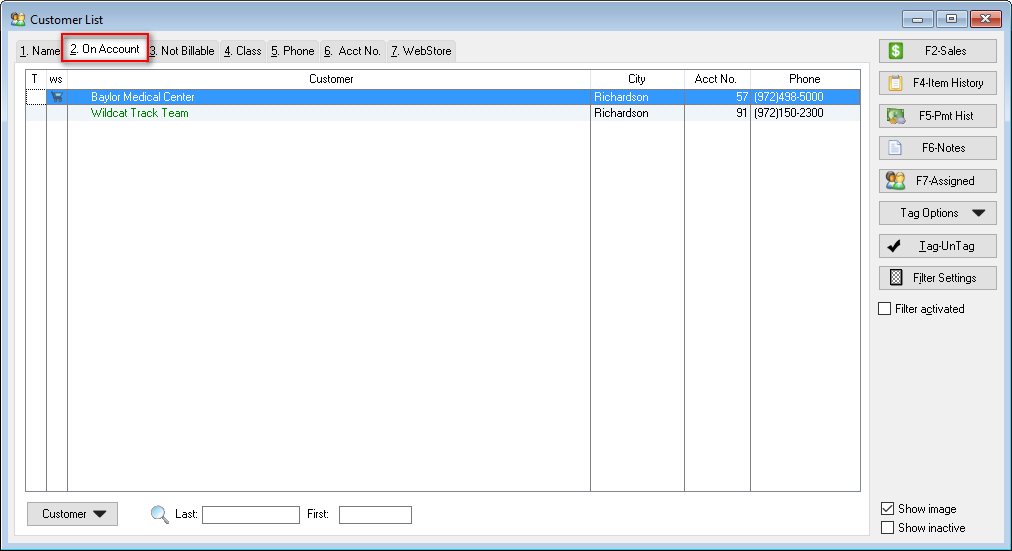
- Select the main account that is going to be billed by selecting the On Account tab on the Customer List.
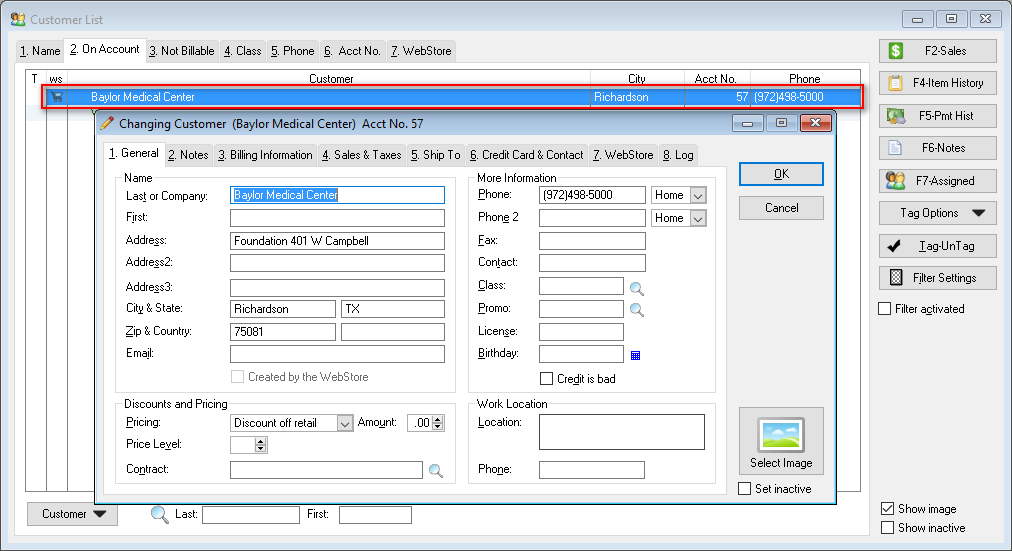
- Double-click to open the desired account
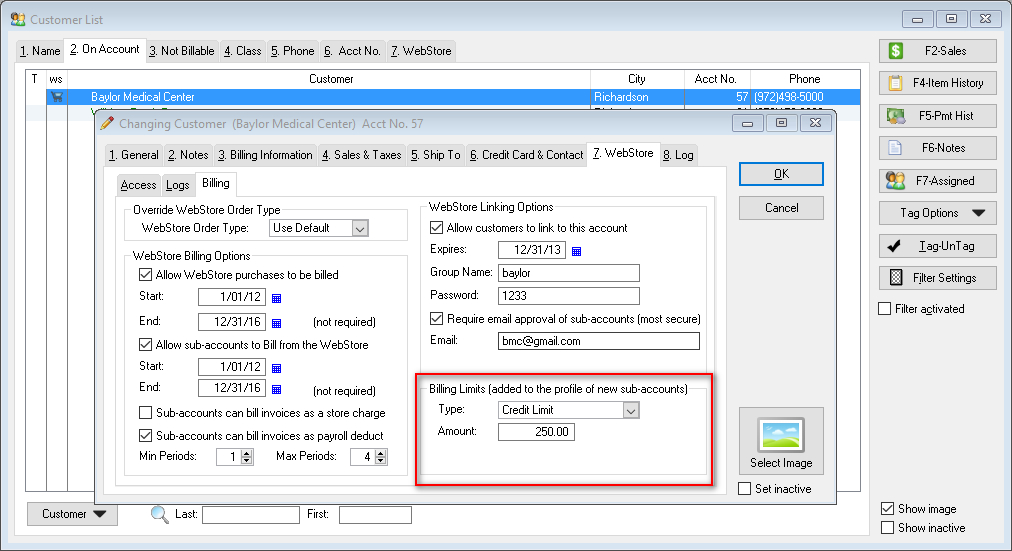
- Navigate to the Webstore tab, and then the subsequent Billing tab.
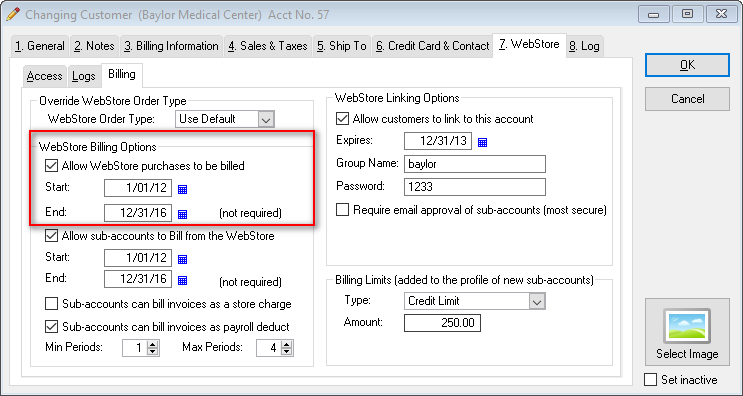
- Check the box that says Allow WebStore Billing Options, and choose the start and end date.
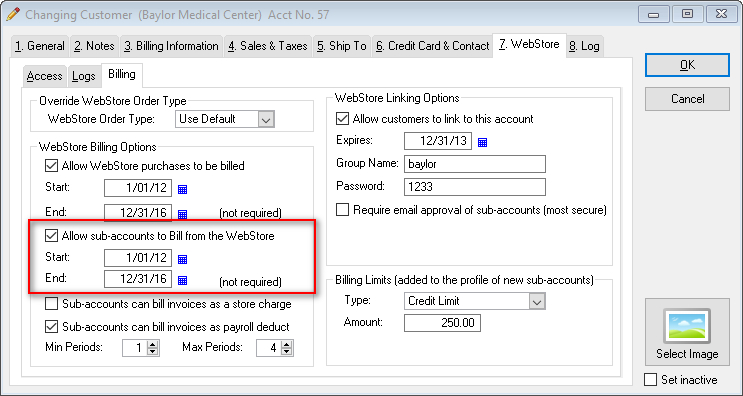
- Check the box that says Allow sub-accounts to Bill from the WebStore and choose the start and end date.
-
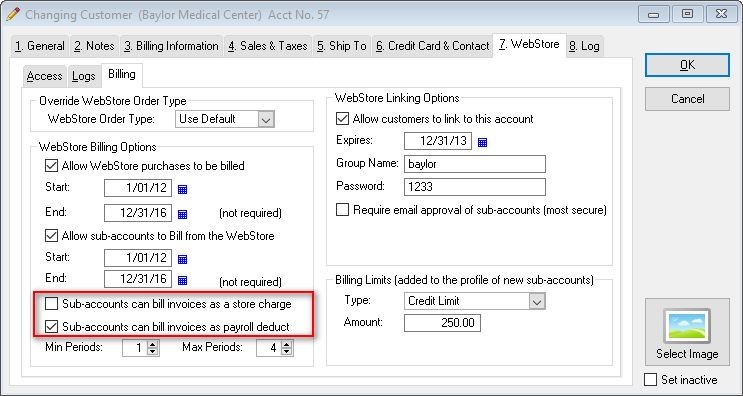
Choose the option(s) that best fit your needs.Sub-accounts can bill invoices as a store charge, and/or Sub-accounts can bill invoices as payroll deduct.
-
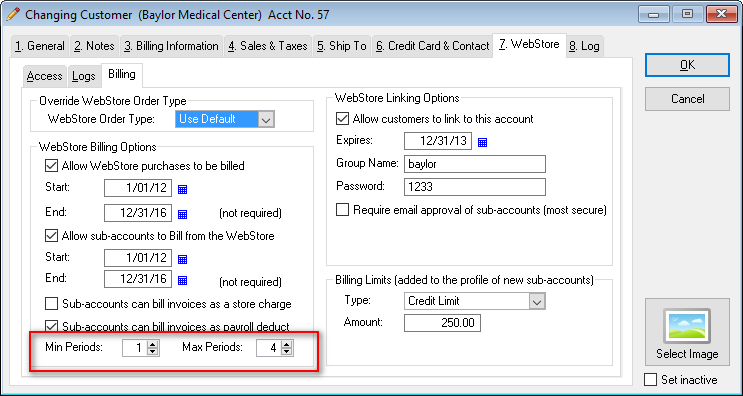
You can choose the minimum and maximum number of pay period to deduct from payroll using the respective options.
-
Webstore Linking Options
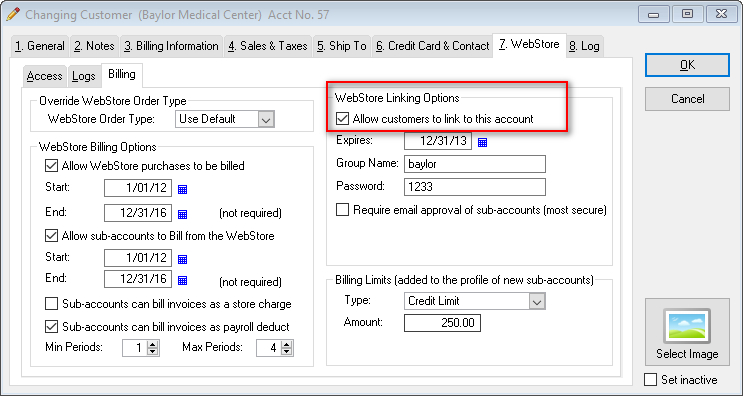
These settings allow the sub accounts to link to the main account, and acquire the settings to be able to have 3rd party billing added to their account. Use the instructions below to link the sub accounts to the main account.
-
Check the box that says Allow customers to link to this account. This opens up other options, as guided next.
-
Select an expiration date for how long you want customers to be able to link to the main account.
-
Assign the main account a group name and password. These credentials will be used to sign in and link the accounts together (as the customer accounts is created and/or signed into).
-
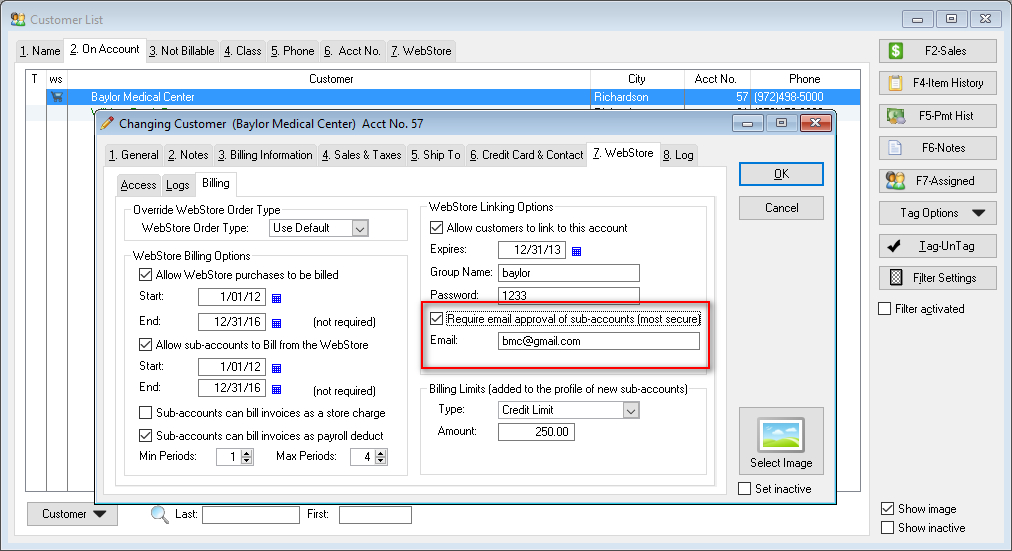
You can require email approval of sub-accounts, and enter in the email address you would like those approvals to go to.
Billing Limits
-
