When getting started with The Uniform Solution, one of the first things we’ll do is input store settings. To begin let’s go to Setup << Store. You will land at the General Tab
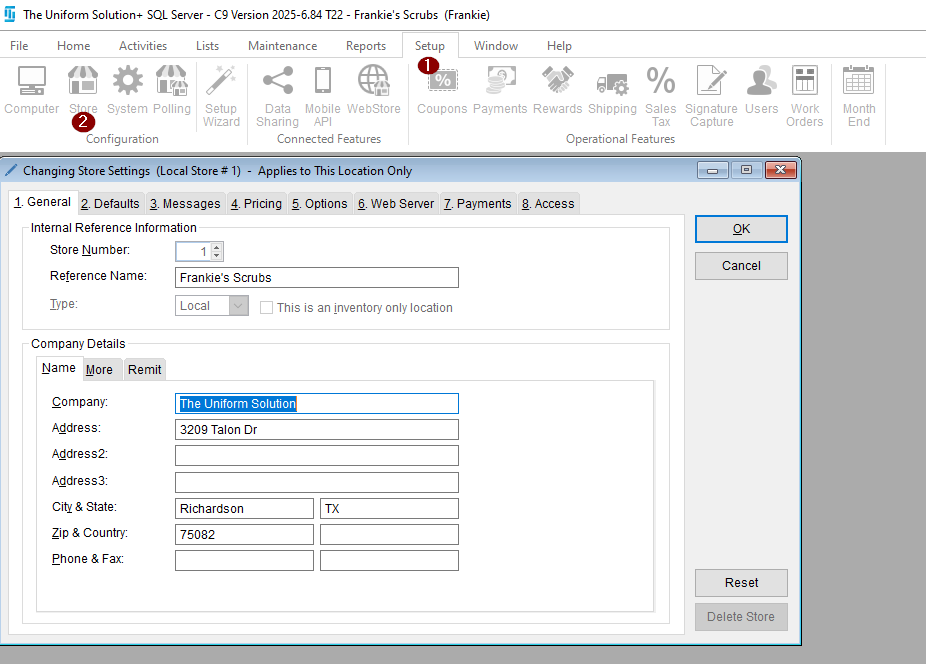
Here you will enter the details of your store. We will want to make sure everything is accurate here. Next we will go to the Messages tab.
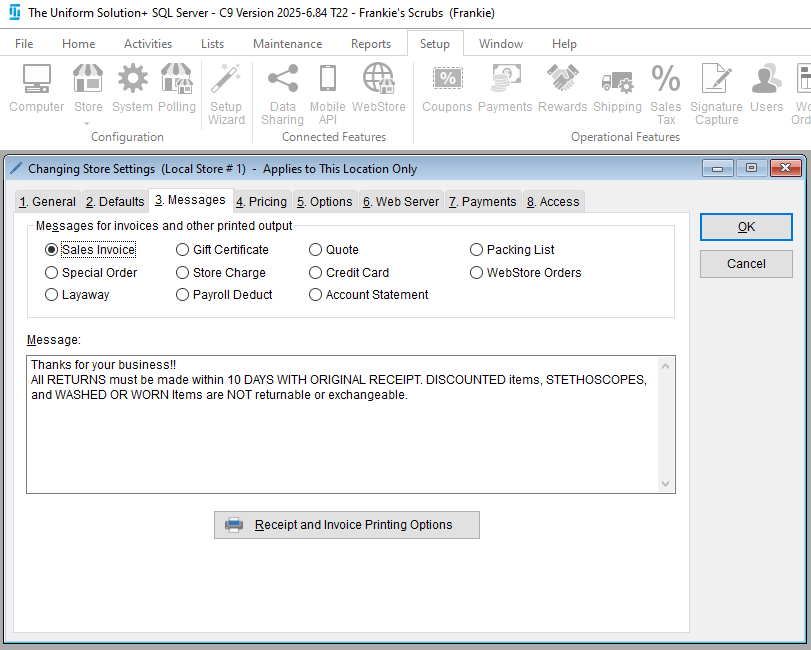
Here we will include a message for the various items that are printed from The Uniform Solution. Select each item and type in your customized message. Next let’s go to the Pricing tab.
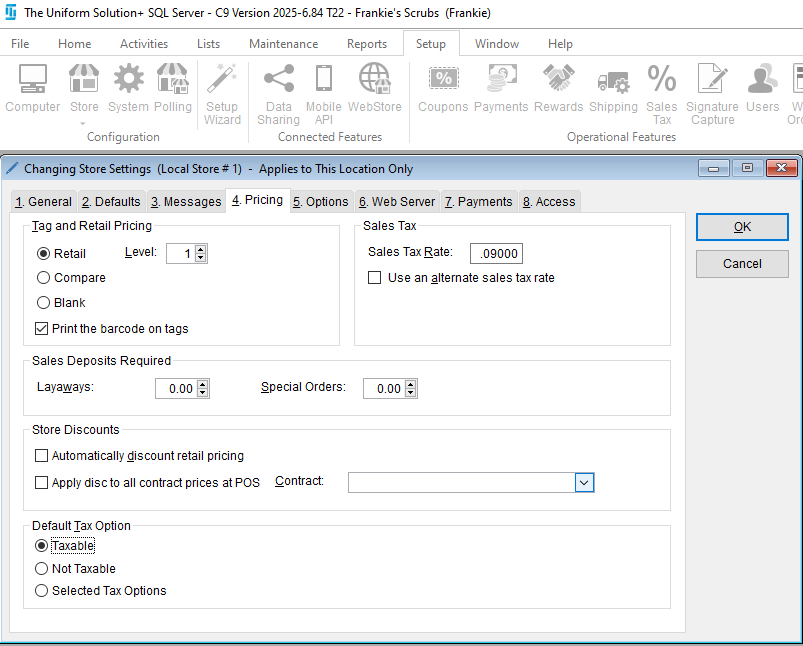
We begin with Tag Printing options. You can select to print:
- Retail – The retail price appears on the tag
- Compare – You can use two pricing levels to display the retail price and the “compare at” price. You can view on how to enable pricing levels here.
- Blank – No prices printed on the tag.
Finally, we will set the Sales Tax Rate for your store. We will also set deposit amounts (by percentage) for items pictured above. Next let’s go to the Payments tab.

For Credit Card Processor we are either going to select UniformPay or none. If you have UniformPay, input your Merchant Identifier (MID) into the space provided. You will also define when to capture settings for your card transactions.
And we’re done! Need more help? Visit our Training & Onboarding site, explore the Knowledgebase, or submit a ticket.
Please find a video walkthrough of the knowledge base article below.