Vendor notes allow users to store important information directly within a vendor record. The system supports two types of notes—primary notes and secondary notes—each serving different purposes in recordkeeping and communication.
This article explains how to add and manage both note types within the Vendor list.
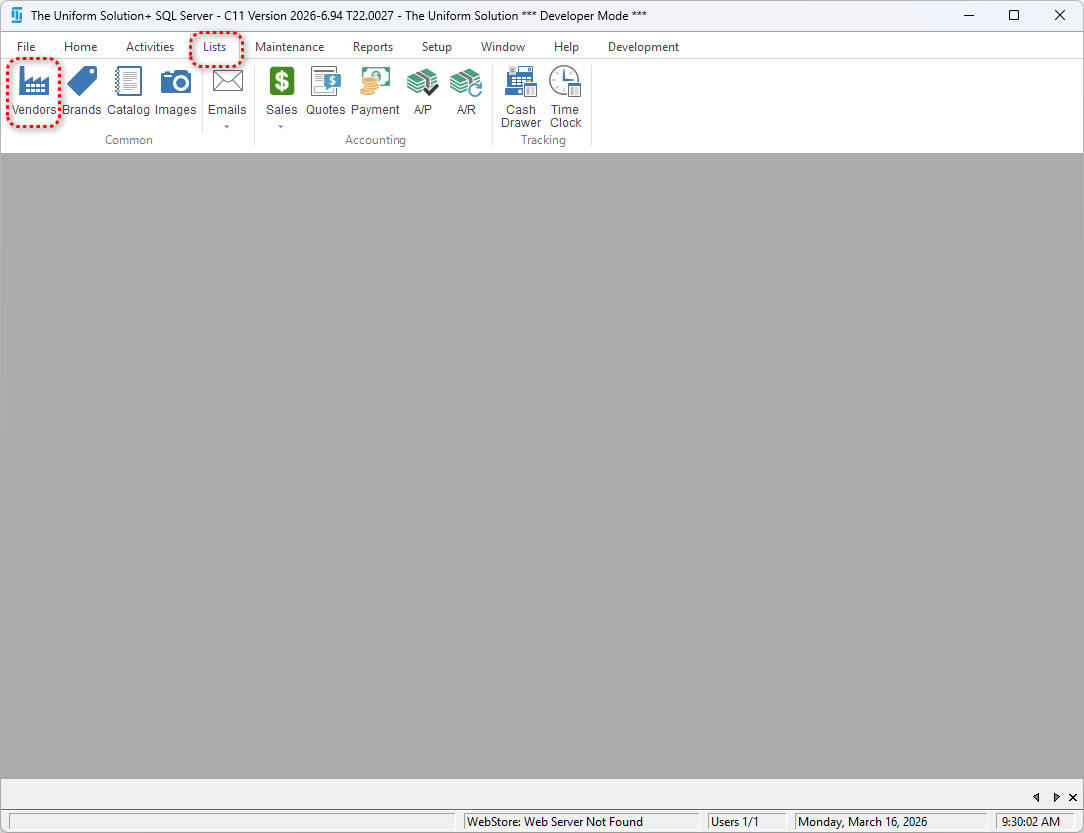
- Open the Vendor List: Lists > Vendor
- Highlight the vendor you want to update the notes for.
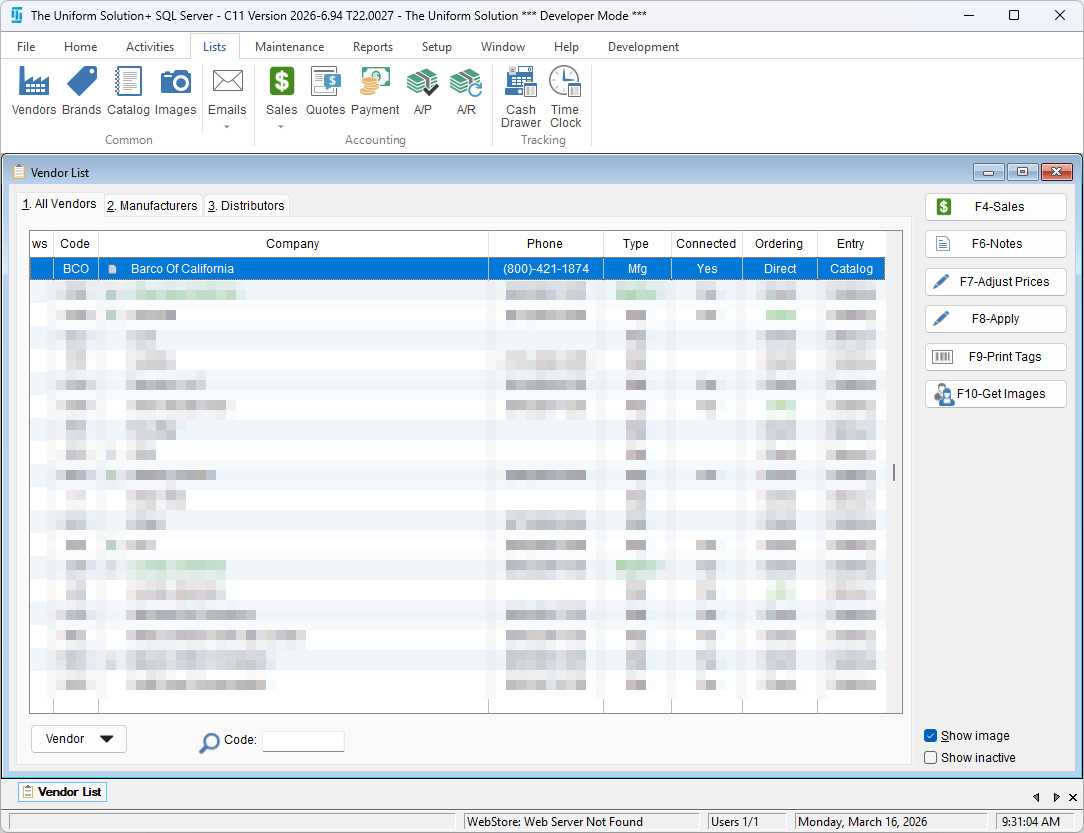
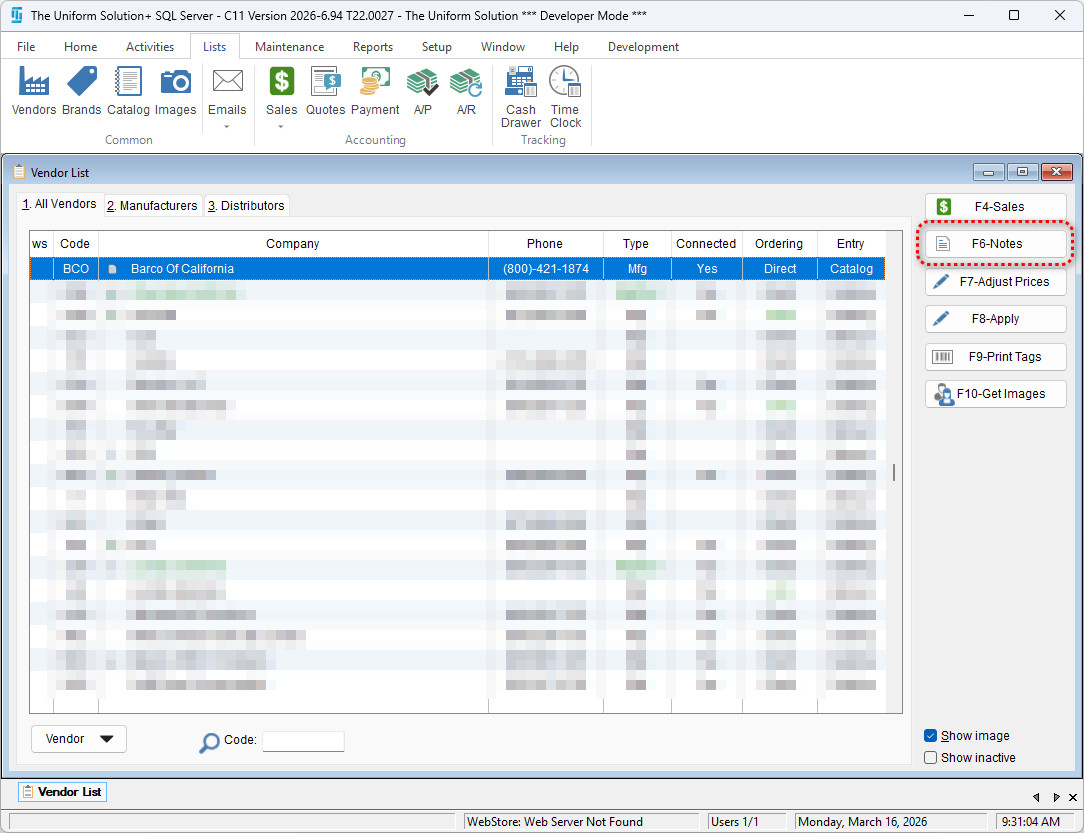
- Select the F6-Notes button
- In the Primary Section, enter any long-term or general notes. Note: Primary notes are not arranged by date/time.
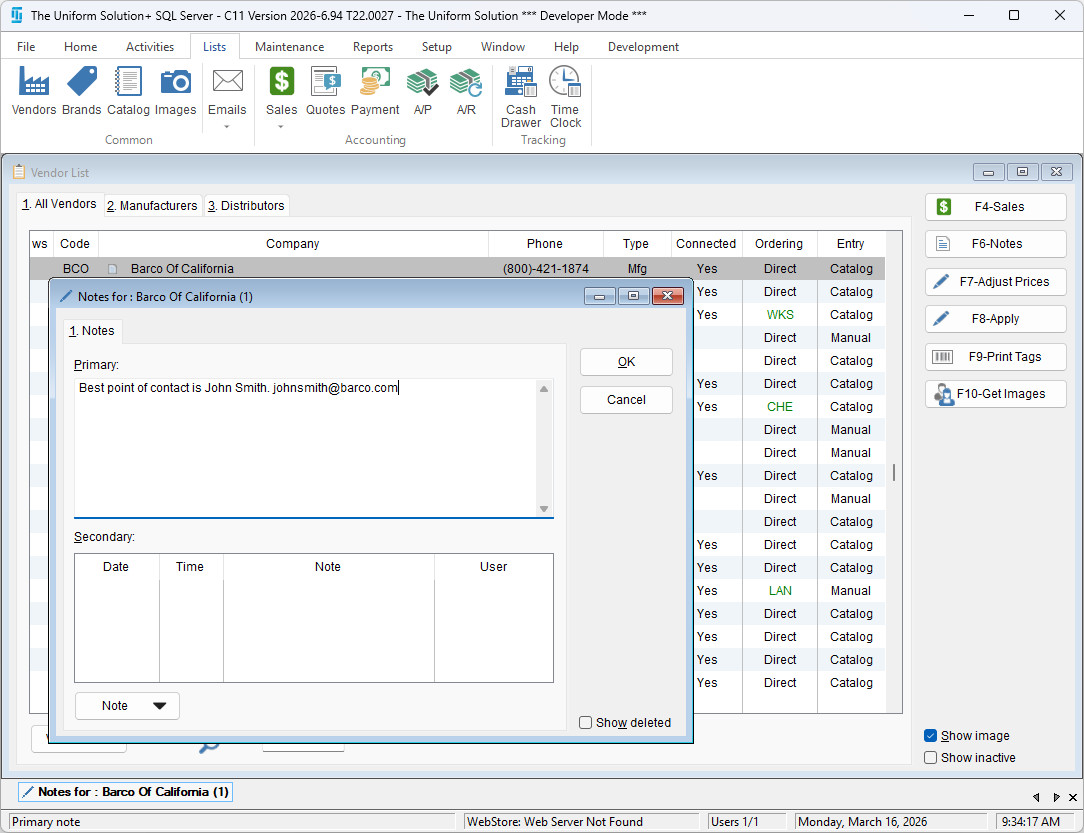
- If a secondary note is needed, you can create one by selecting Note > New note.
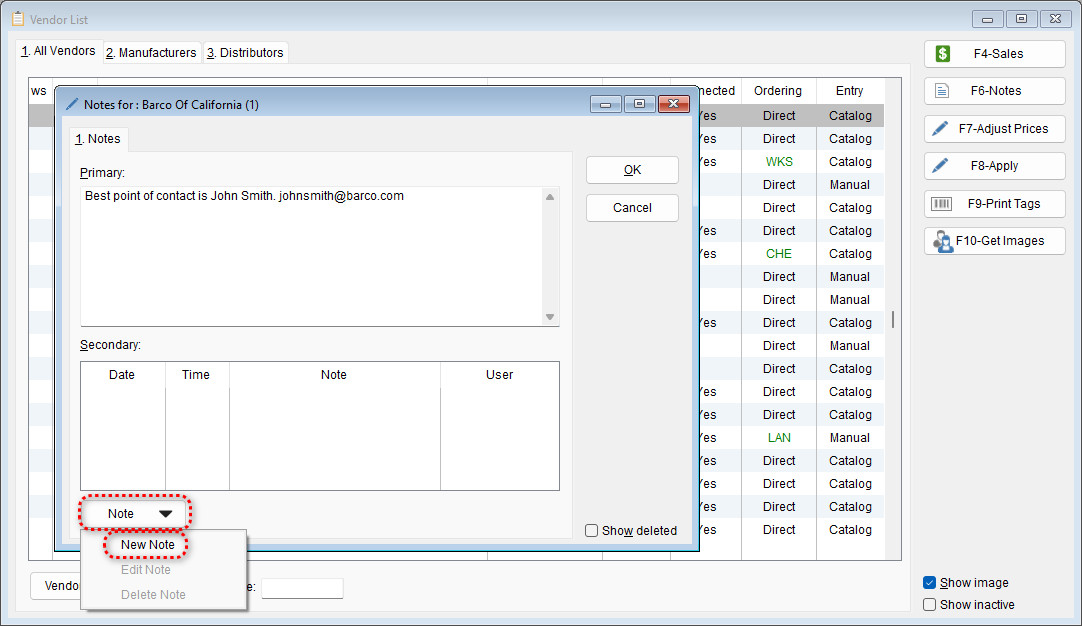
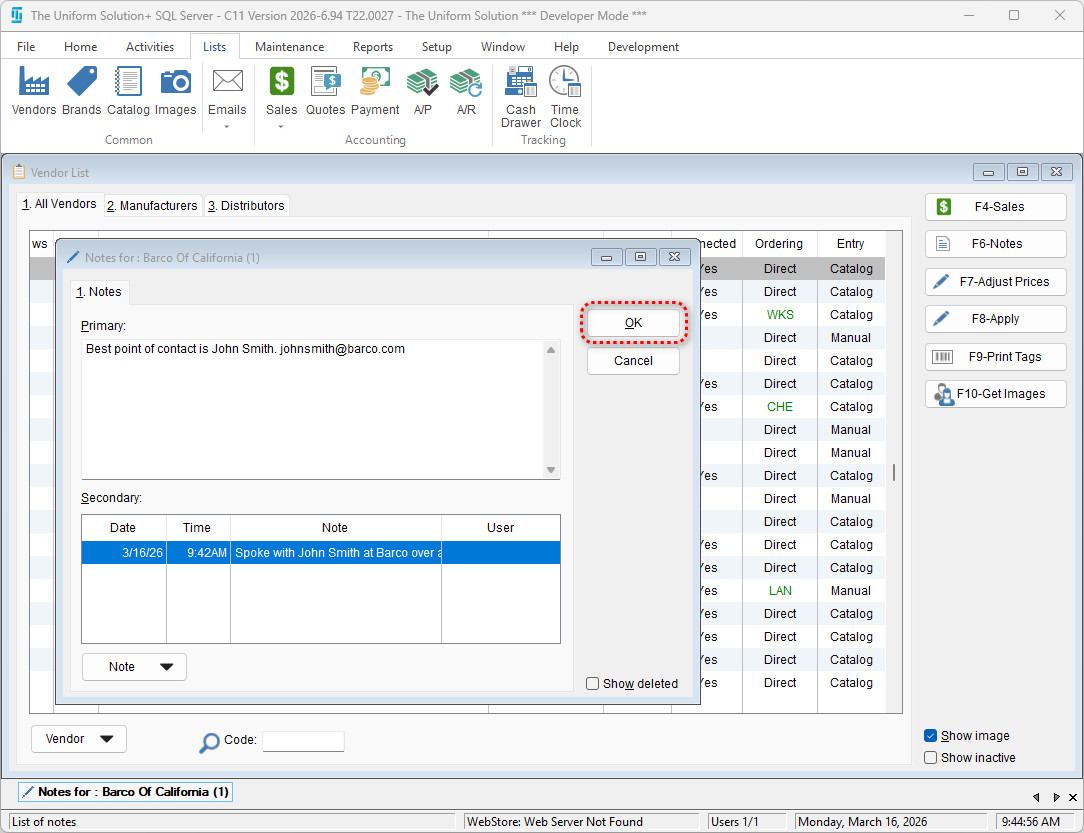
- Enter the desired note on the Note screen and select OK to save it

- Select OK again to return to the vendor list
Best Practices
- Use Primary Notes for permanent vendor information such as:
- Account details
- Instructions or requirements
- General vendor policies
- Use Secondary Notes for:
- Chronological interaction history
- Call notes or follow-ups
- Issue tracking
- Any date‑specific communication
Consistent use of note types ensures clear documentation and efficient vendor management.