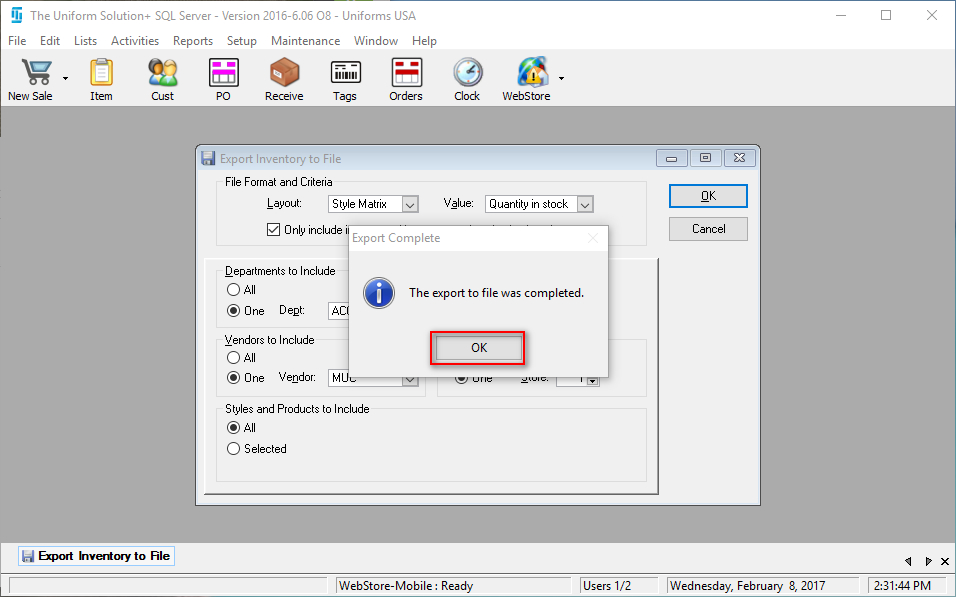
Quickly export your inventory to a *.csv file.
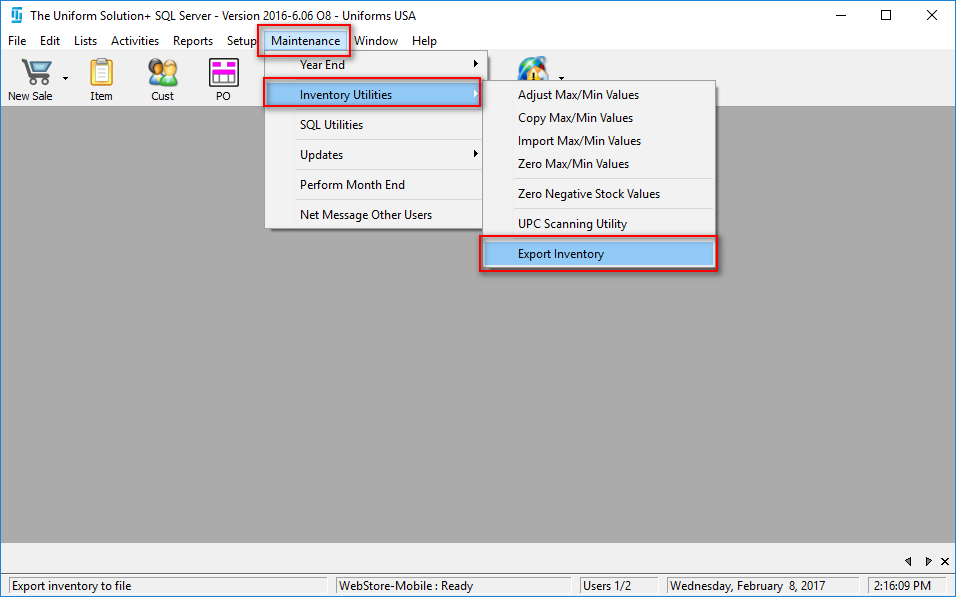
- To get started, go to: Maintenance > Inventory Utilities > Export Inventory
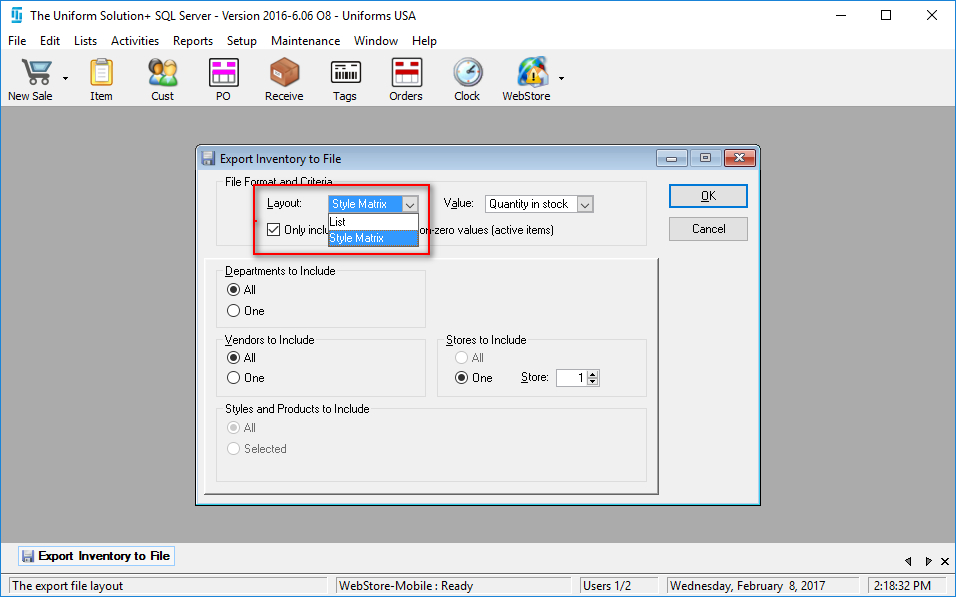
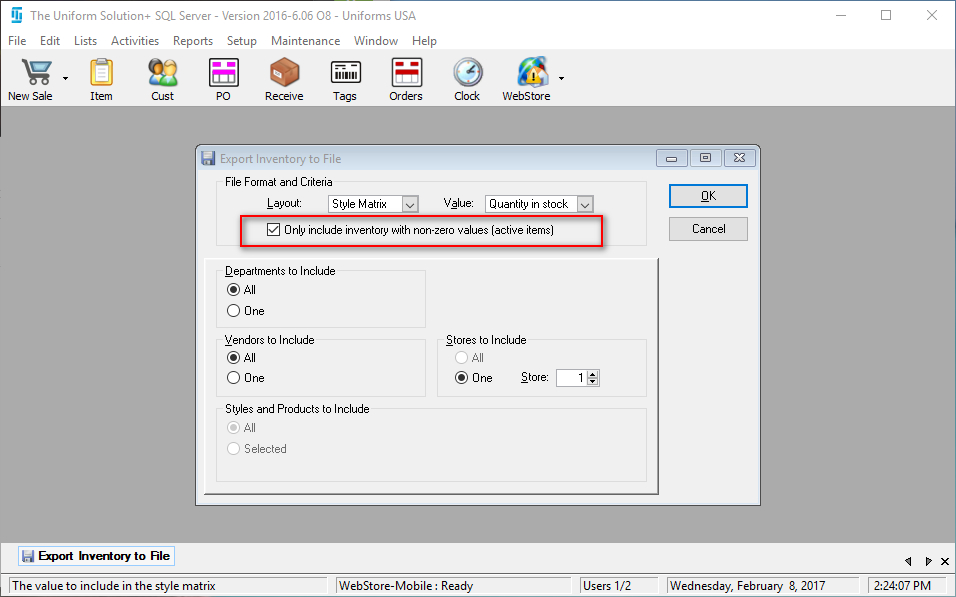
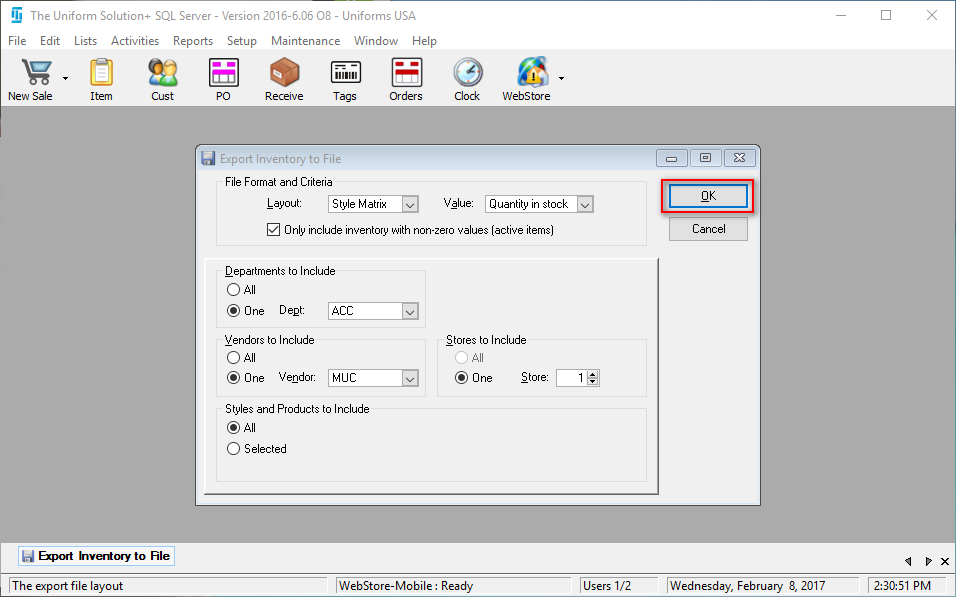
- The Export Inventory to File screen will appear allowing you to customize your options
- Use the drop-down menu next to Layout to select the desired layout
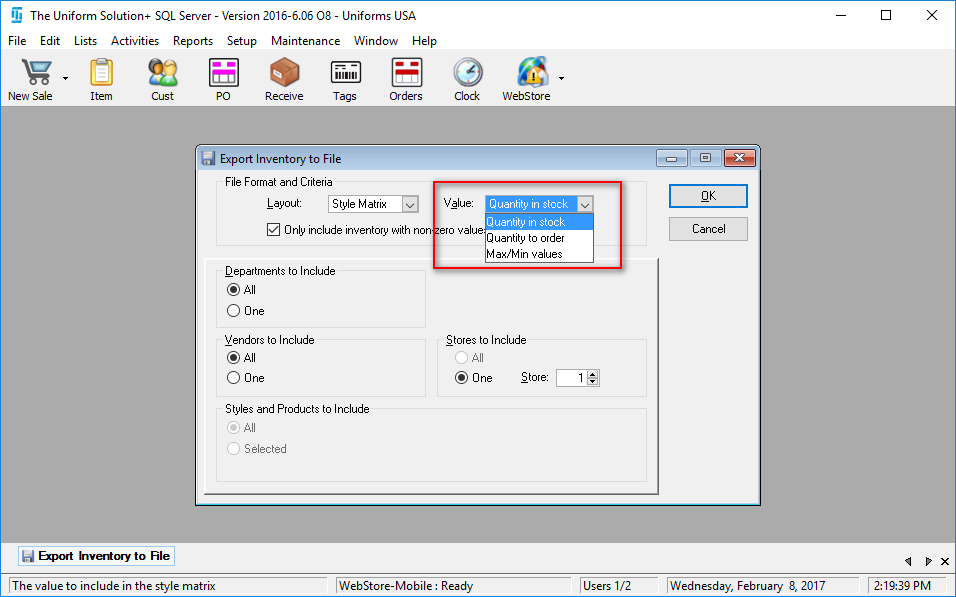
- In the Value field, select the desired value
- Decide whether you want to only include inventory with non-zero values by checking/unchecking this option
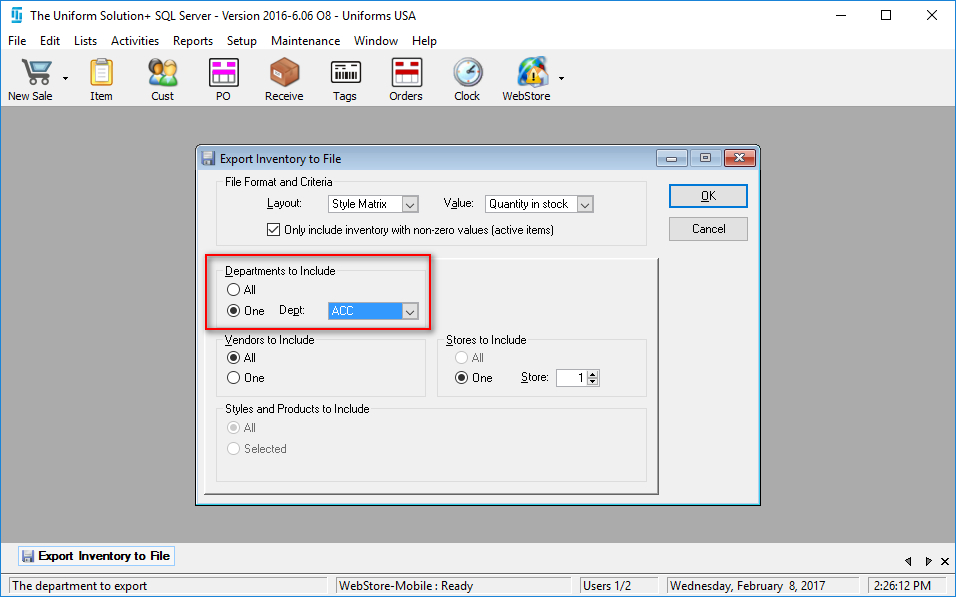
- Under “Departments to Include” either select All or select One and select the desired department from the drop-down menu
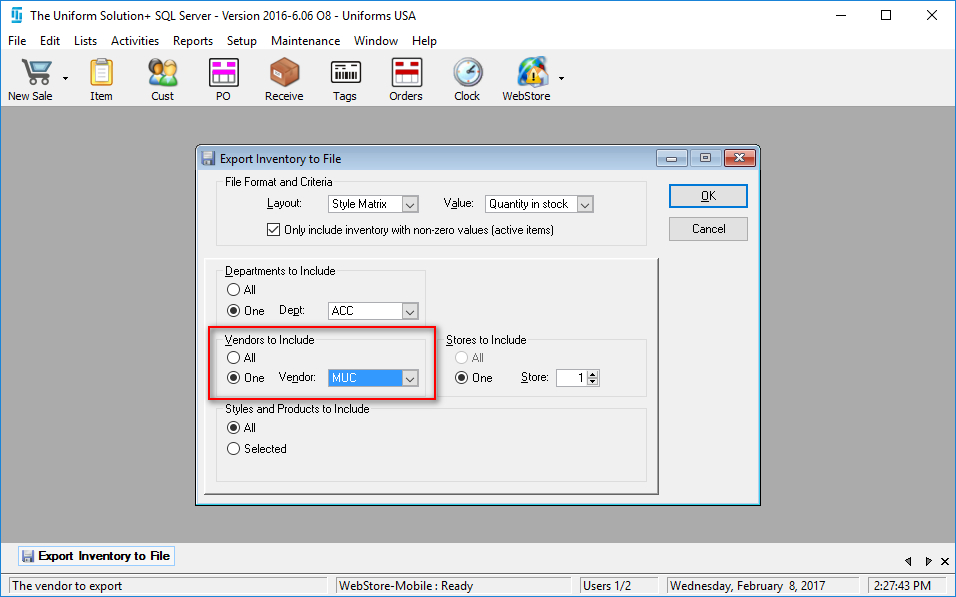
- Under “Vendors to Include” either select All or select One and select the desired vendor from the drop-down menu
- Under “Stores to Include” select All or select One and select the desired store using the up-and-down arrows
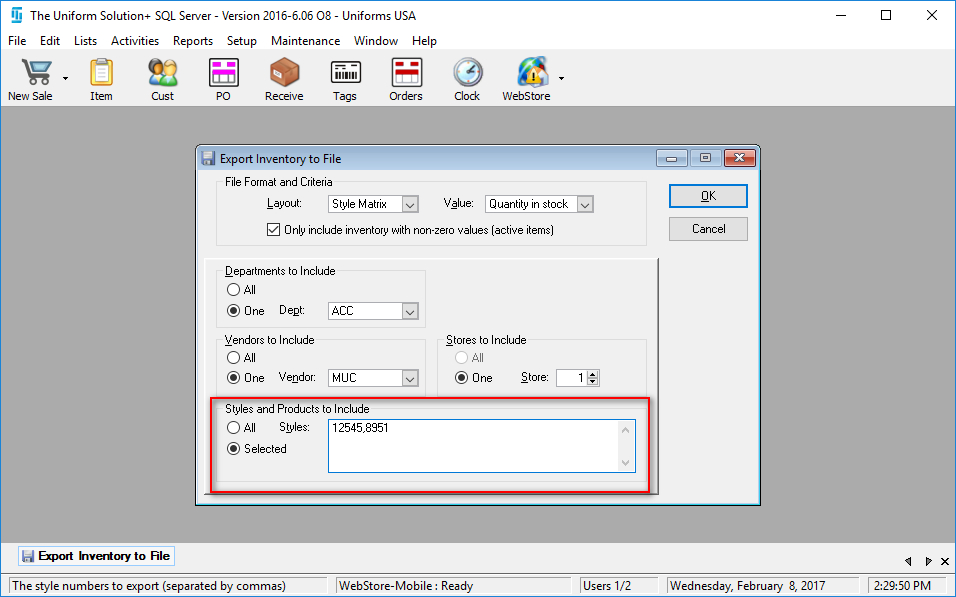
- Under “Styles and Products to Include” either select All or choose Selected and enter the specific products/styles in the field
- Select OK and navigate to where you would like the file to save
- When the export completes, an active screen will appear. Select OK to exit the utility
