 GroupPortal Features
Overview
The GroupPortal is a new feature that enables designated group admins to manage sub-accounts in their group. This initial release focuses on delivering core functionality to support group management.
Who is this for?
The portal is available to admin accounts – users who are authorized to manage members and orders within their group. Only group admins will have access to the GroupPortal through your WebStore.
Prerequisites
You must have a WebStore license and on TUS version 7.0 or higher. Before getting started, contact Support for assistance with setting up the GroupPortal.
Table of Contents:
- How to Access Group Portal once enabled
- Dashboard Overview
- Members View
- Member Search Options
- How to Add a Member
- Member Credit Options
- How to Edit a Member
- Orders View
- Search and View Orders
- How to Print Orders
- How to Set Billing Limits
- Group Management
Getting Started
-
-
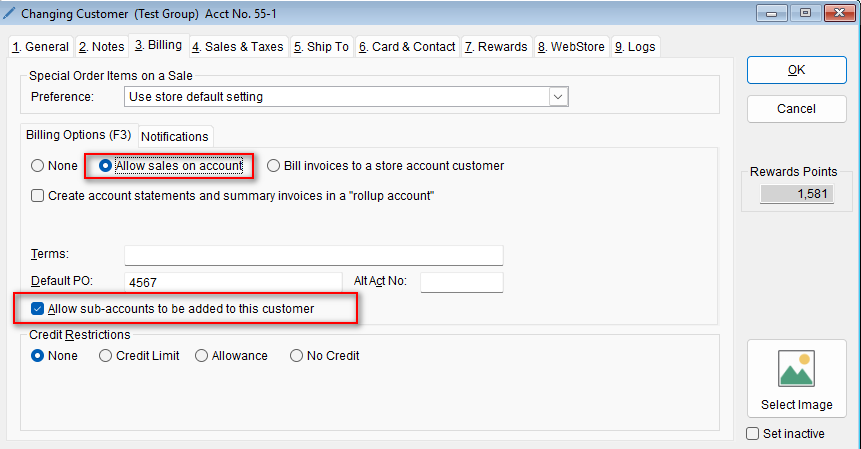
Note that certain options must be selected for the GroupPortal to be visible.
-
From the Customer List (Home> Customer List), verify whether a shopping cart icon appears next to the customer’s name.
-
Open the Customer record and select the Billing tab to confirm that “Allow sub-accounts to be added to this customer” is checked.
-
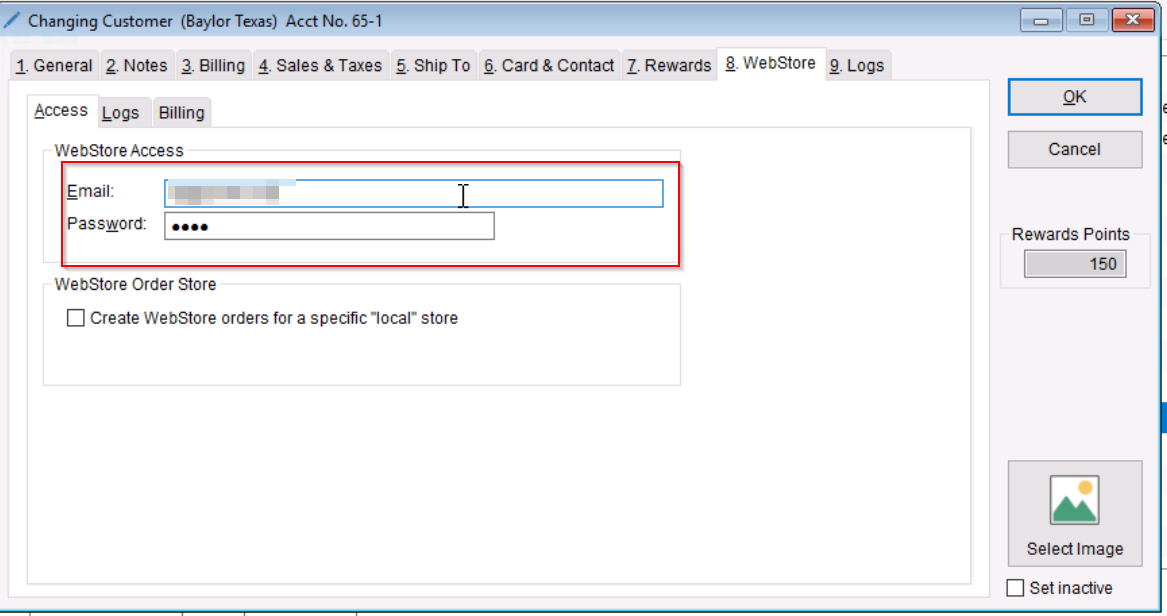
- Select WebStore > Access and confirm that the login credentials are present.
-
-
-
Navigate to your WebStore
-
Login to the group account
- After logging into your WebStore, the GroupPortal button will appear on the My Account Settings page.

- After logging into your WebStore, the GroupPortal button will appear on the My Account Settings page.
-
Key Features
Note: The information below can be used as training material for your group admins.
Overview
Dashboard Overview
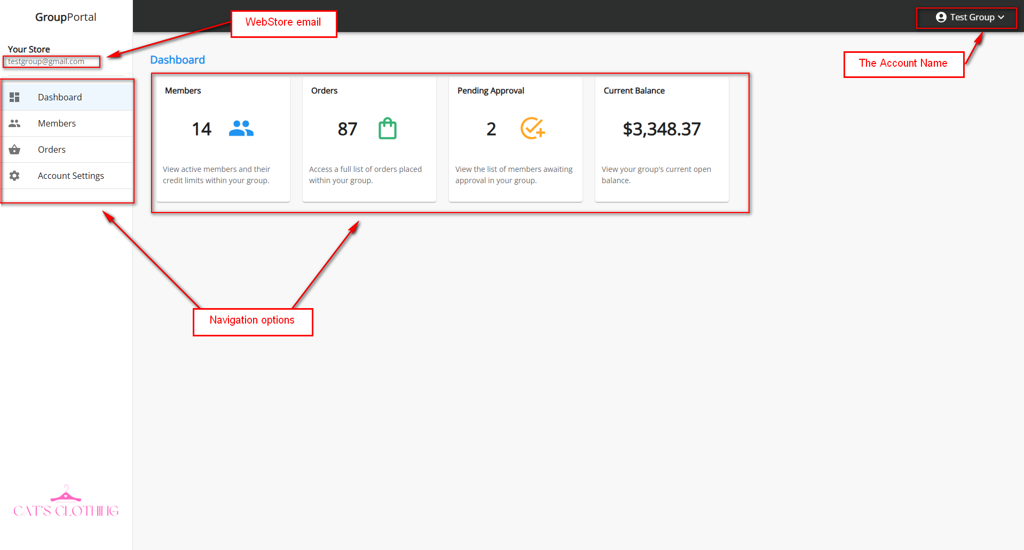
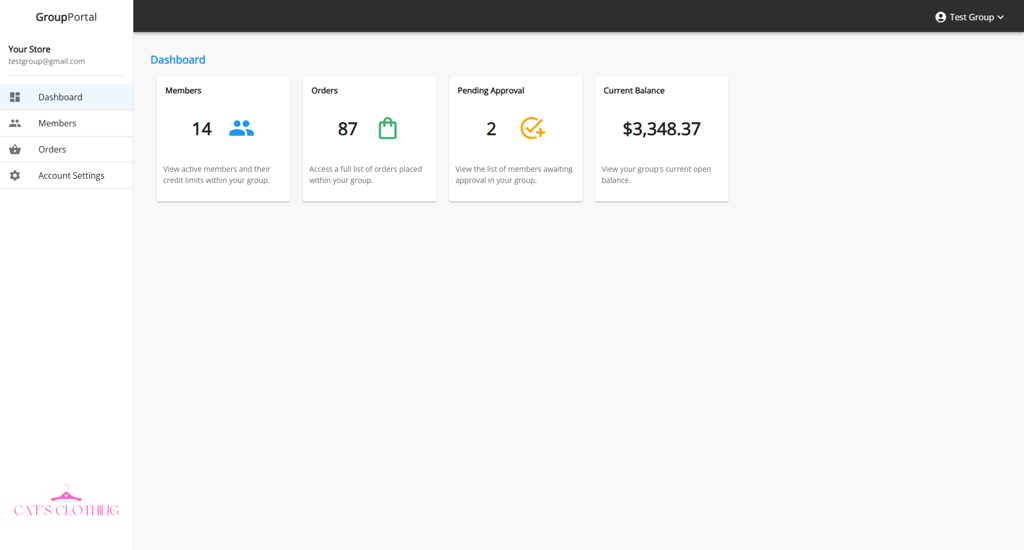
Quickly view key metrics like group members, orders, pending approvals, and order subtotals. Click on each tile or use the navigation on the left to view more details.
Members Tile: View active members and their credit limits within your group.
Orders Tile: Access a full list of orders placed within your group.
Pending Approval Tile: View the list of members waiting approval in your group.
Current Balance Tile: View your group’s current open balance
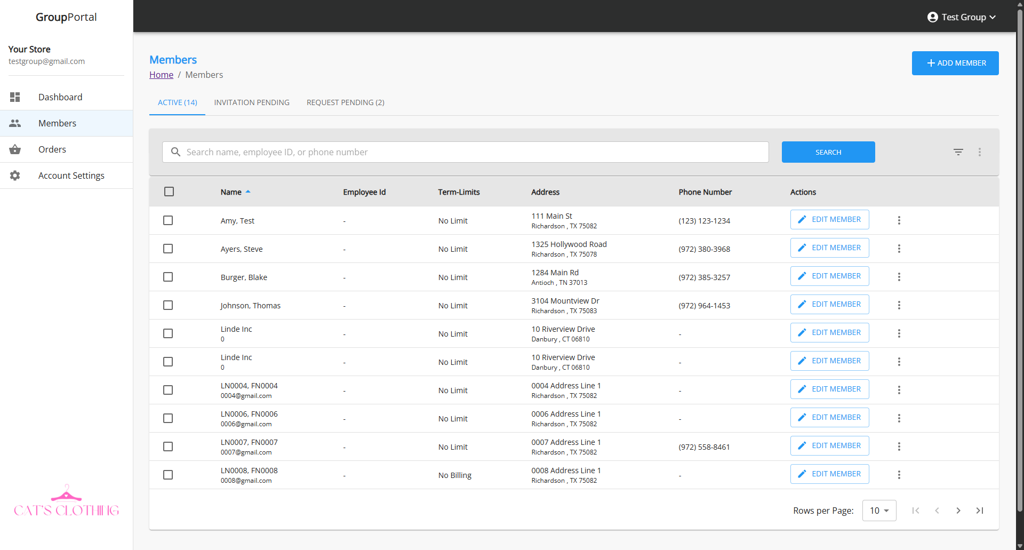
Members View
The Members section allows you to easily view, add, and manage members within the group. Use the tabs at the top to quickly filter members by:
-
Active: Displays all approved and active members in the group.
-
Invitation Pending: Shows members added by the admin using the “Add Member” option. These members are pending completion of their account setup.
-
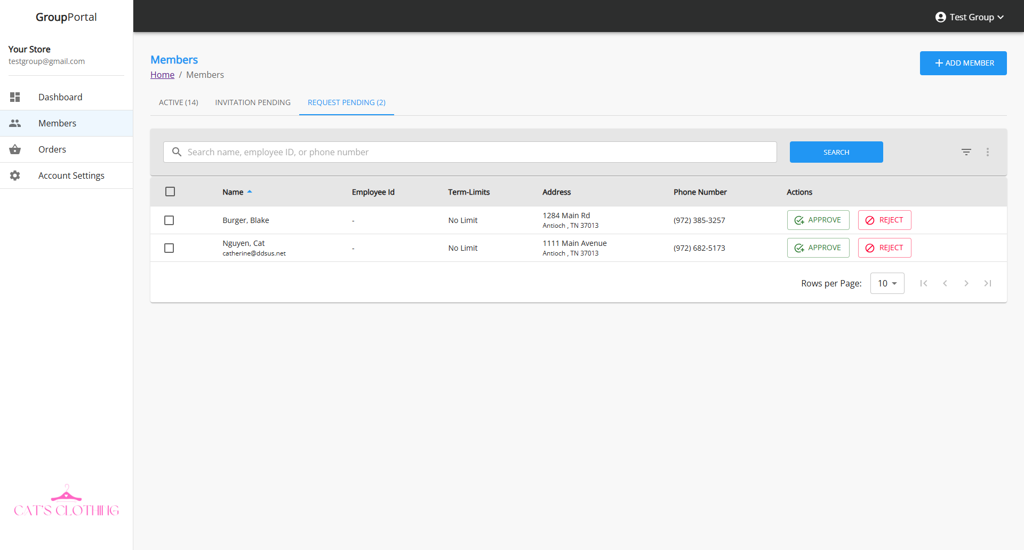
Request Pending: Lists members who have requested to join the group and are awaiting approval.
Note: Under Account Settings > Group Management, if the option “Email approval is required (most secure)” is not selected, members will not appear under “Request Pending.” Instead, they will be automatically added to the group.
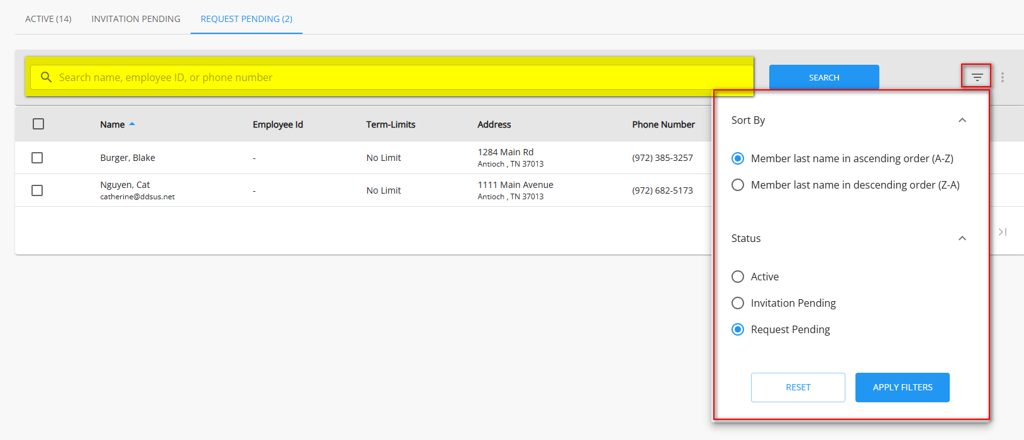
Member Search Options
You can easily search by a member’s name, employee ID, or phone number. To sort the member list, click the filter icon on the right and choose your preferred sorting options.
Sort By:
-
Member last name in ascending order (A-Z)
-
Member last name in descending order (Z-A)
Status:
-
Active
-
Invitation Pending
-
Request Pending
Note: Select “Apply Filters” to have the list sorted. If Reset is selected, it will return back to the default list.
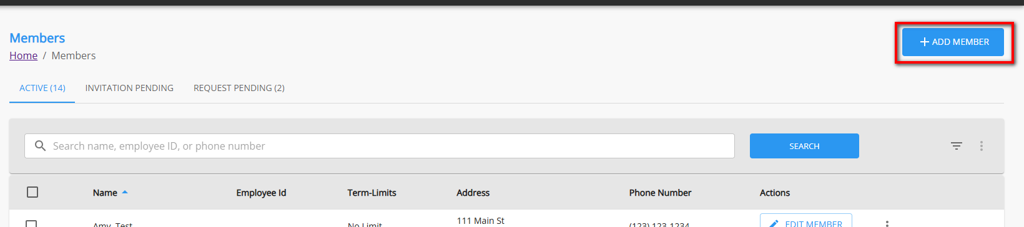
How to Add Member
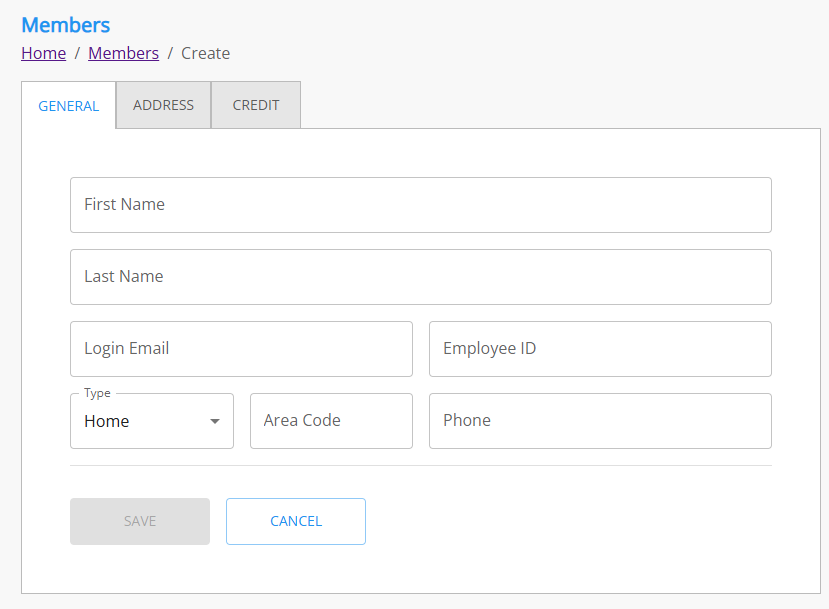
To add a member, click on the + ADD MEMBER button seen below. Fill in the required fields to create the member’s account.
** indicates if the field is required
General Tab
-
First Name**
-
Last Name**
-
Login Email**
-
Employee ID
-
Phone Type
-
Area Code**
-
Phone Number**
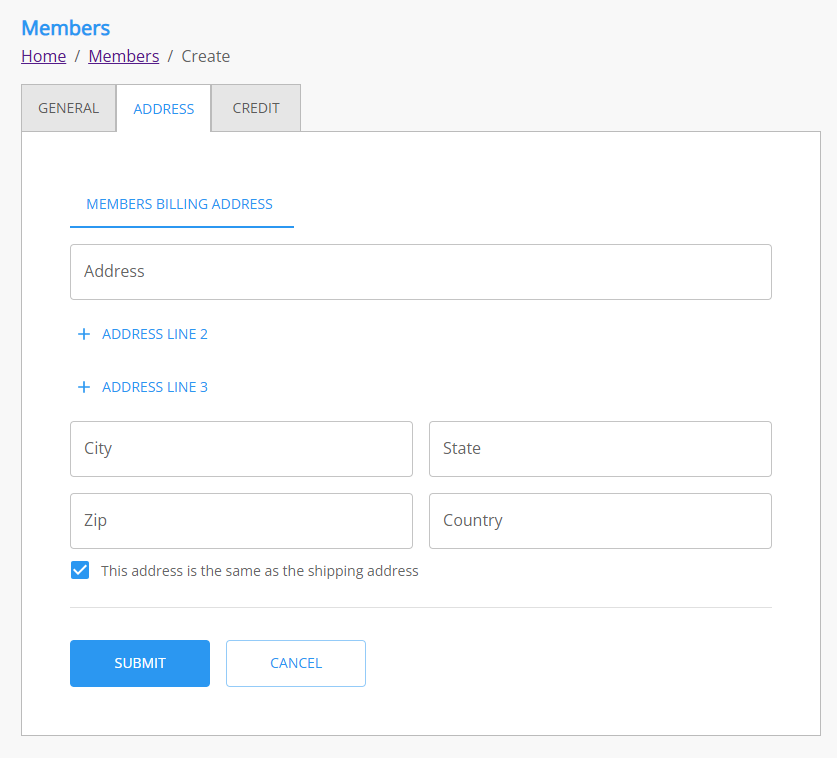
Address
Members Billing Address
-
Address Line 1**
-
Address Line 2-3
-
City**
-
State**
-
Zip**
-
Country
-
This address is the same as the shipping address checkbox
-
If it is not selected, the “Member’s Shipping Address” fields will appear for entry.
-
-
Members Shipping Address
-
-
Address Line 1**
-
Address Line 2-3
-
City**
-
State**
-
Zip**
-
Country

Member Credit Options
-
Credit Type
-
Apply the current sub-account credit limits from the Billed Account
-
Allowance
-
Allowance Details
-
Allowance amount
-
Start and End Date
-
-
-
Credit Limit
-
Credit Restrictions
-
-
No Limit
-
No Billing (i.e. billing not allowed)
-
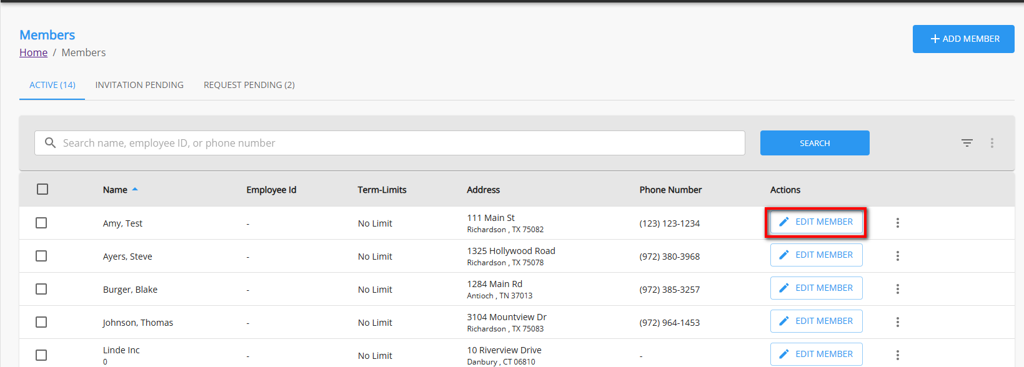
How to Edit a Member
To edit a single member, click the “Edit Member” button next to their name. The admin can update certain member details; however, fields such as Login Email cannot be edited.
To remove a member from the edit screen, you can select Actions > Remove Member
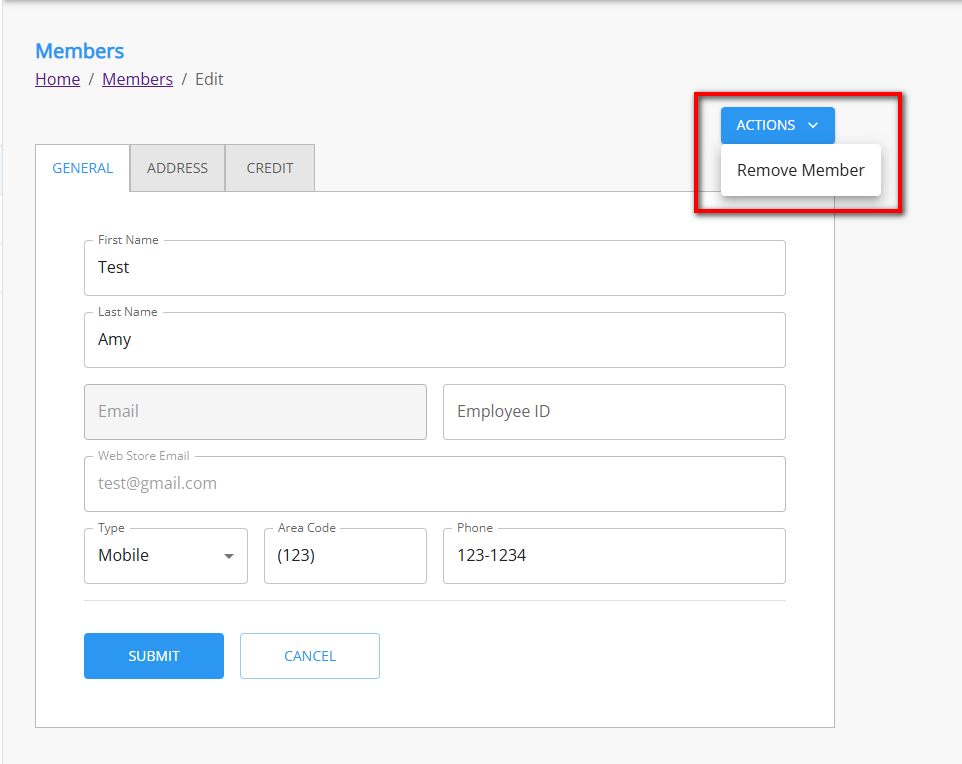
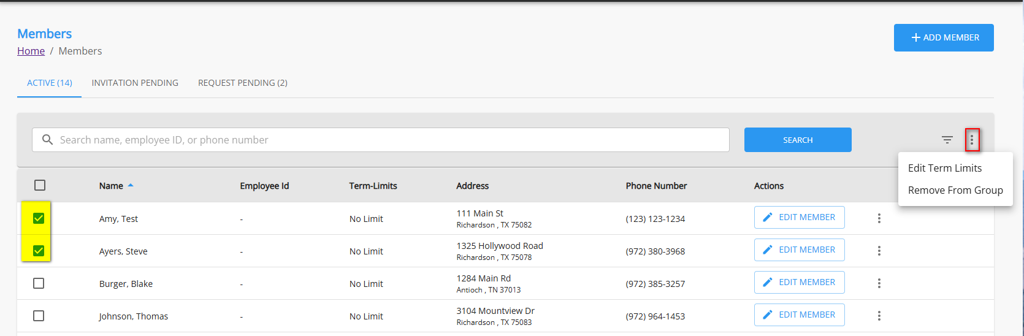
Note: Removing a member will reset their allowance or credit limit to zero and remove them from the group. This action does not delete the member’s account—it only disassociates them from the group.To edit multiple members, select the checkbox next to each member’s name. Then, click the three-dot menu to access bulk actions. Available options include:
-
Edit Term Limits
-
Remove From Group
Orders View
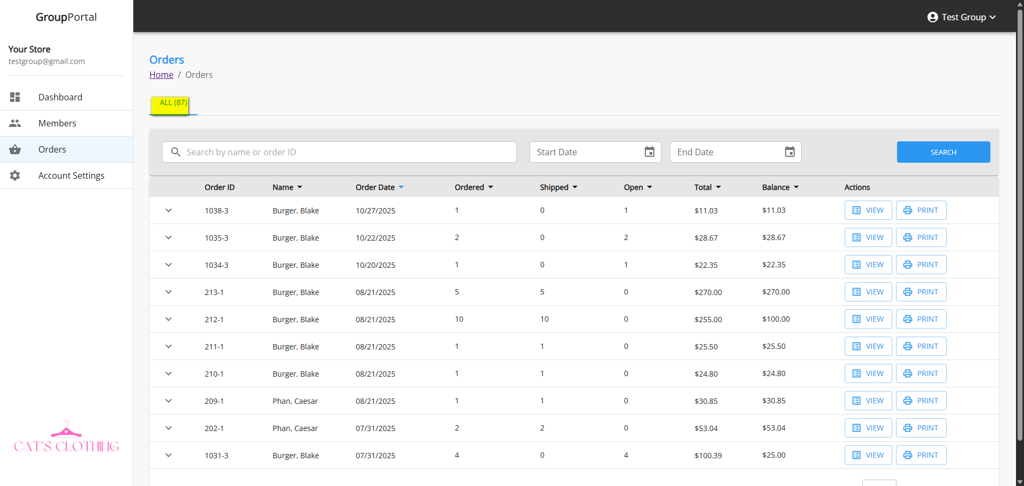
The Orders section allows you to access group order history, view detailed order information, and print invoices as needed. The tab at the top displays the total number of orders placed within the group. Use the search and date filters to locate specific orders.
Search and Sort Orders
Use the column headers to sort orders in ascending or descending order by Name, Order Date, Ordered, Shipped, Open, Total, or Balance.
View Orders
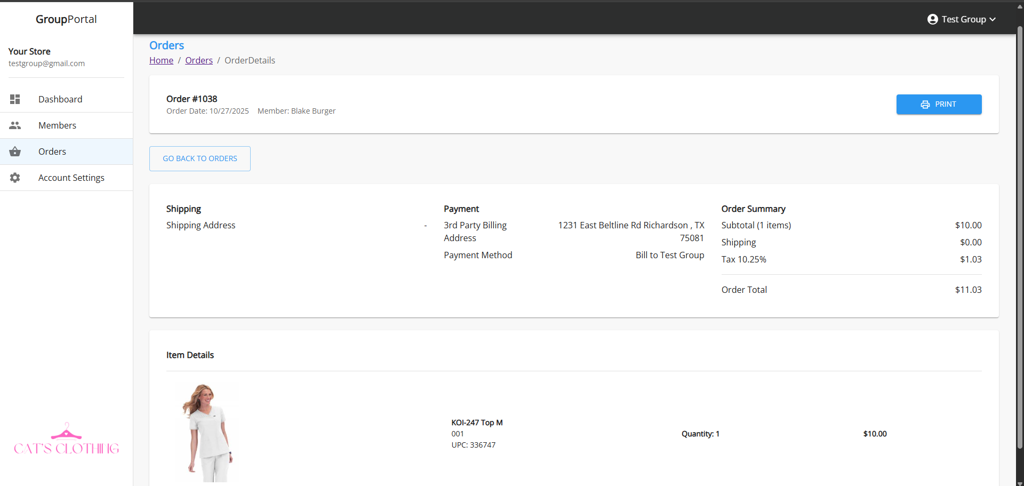
To view orders, click the arrow on the left to expand the order details. For a full-page view, select the View button under Actions.

How to Print Orders
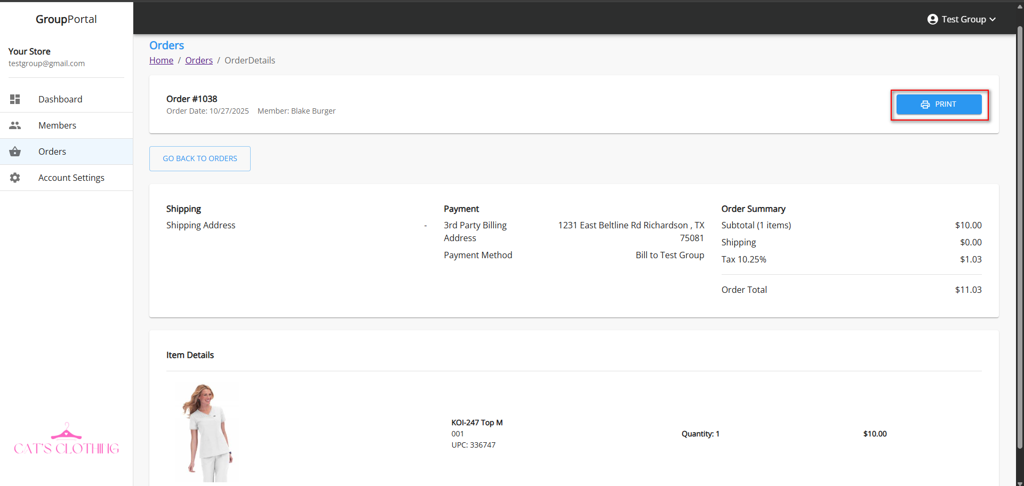
To print an order, select “Print” under Actions or from the order details page. A PDF will be generated with the order details for printing.

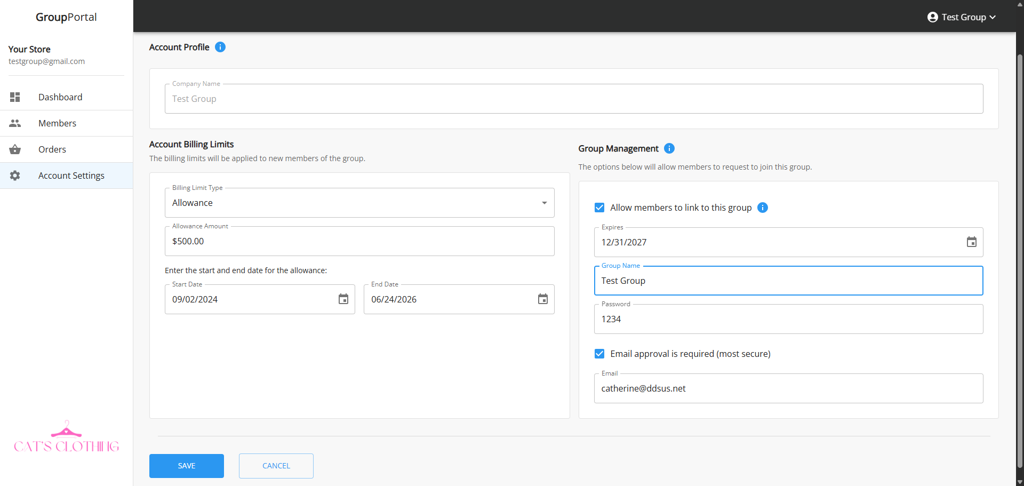
Account Settings
The Account Settings section is divided into two parts: Account Billing Limits and Group Management Settings.
How to Set Account Billing Limits
Defines the billing limits that will be automatically applied to new members when they join the group.
-
None – No billing privileges are assigned to the member.
-
Credit Limit – Specify a credit limit amount that the member can use.
-
Allowance – Set an allowance amount along with a start and end date for the billing period.
Group Management
These settings allow members to join the group through the WebStore. Members can request to join the group from the WebStore using the Group Name and Password.
If “Allow members to link to this group” is selected, the following details must be provided:
-
Expires – The date after which members can no longer link to the group.
-
Group Name – The name members will use to identify the group.
-
Password – The password required to join the group.
If “Email approval is required (most secure)” is selected:
-
An email will be sent to the designated email address.
-
The request can be approved or rejected directly within this portal.
If this option is not selected, members will be automatically added to the group upon request.
-
-
