Running an in‑store sale is an effective way to move aging inventory and attract customers. This process uses Contracts to define discounted items and a Store Configuration setting to automatically apply those discounts at the point of sale.
Overview of the Sale Process
To run an in‑store sale, you will:
- Create a Contract that contains the items you want to discount
- Define the discount percentages for each item
- Activate the contract at the Store level so discounts apply automatically to qualifying sales
Once configured, items included in the contract will automatically ring up at the discounted price during the sale period.
Creating a Contract
First, a contract needs to be created in order to specify the items that need to be discounted. To create a contract,
-
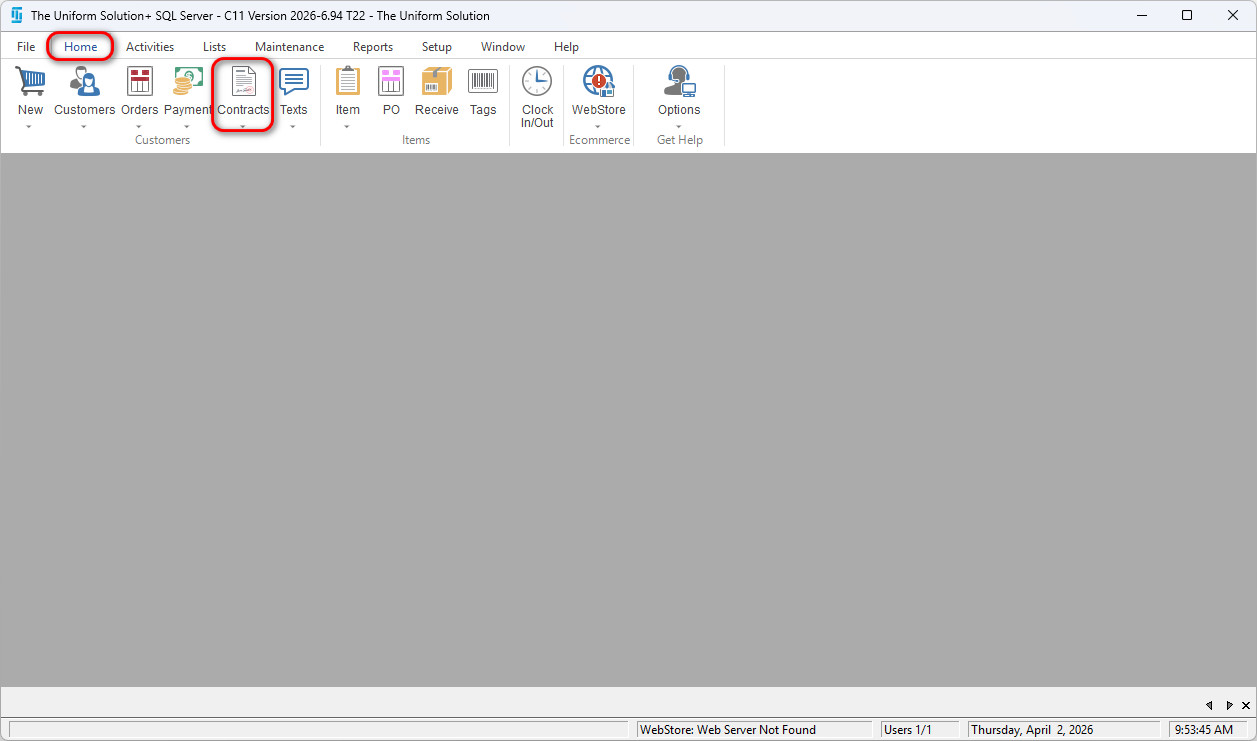
Go to: Home > Contracts.
-
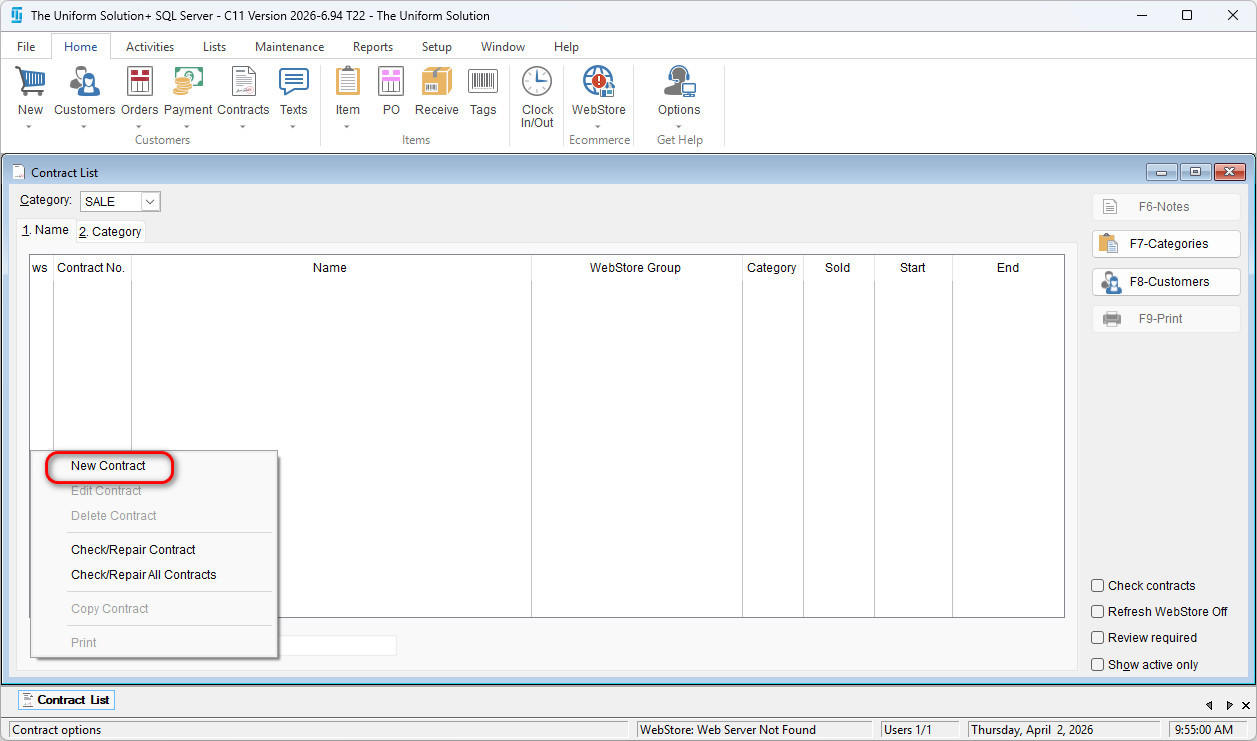
Select the Contract button (bottom left-hand corner) and choose New Contract.
-
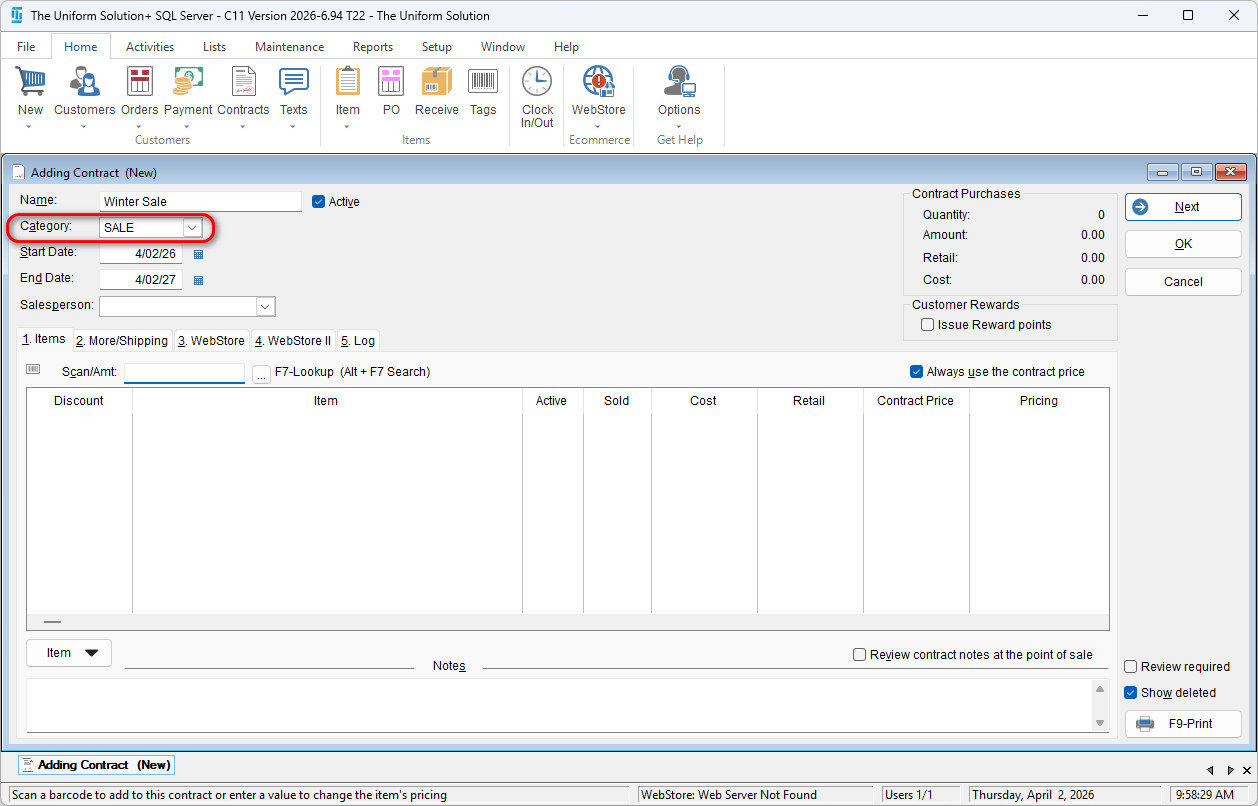
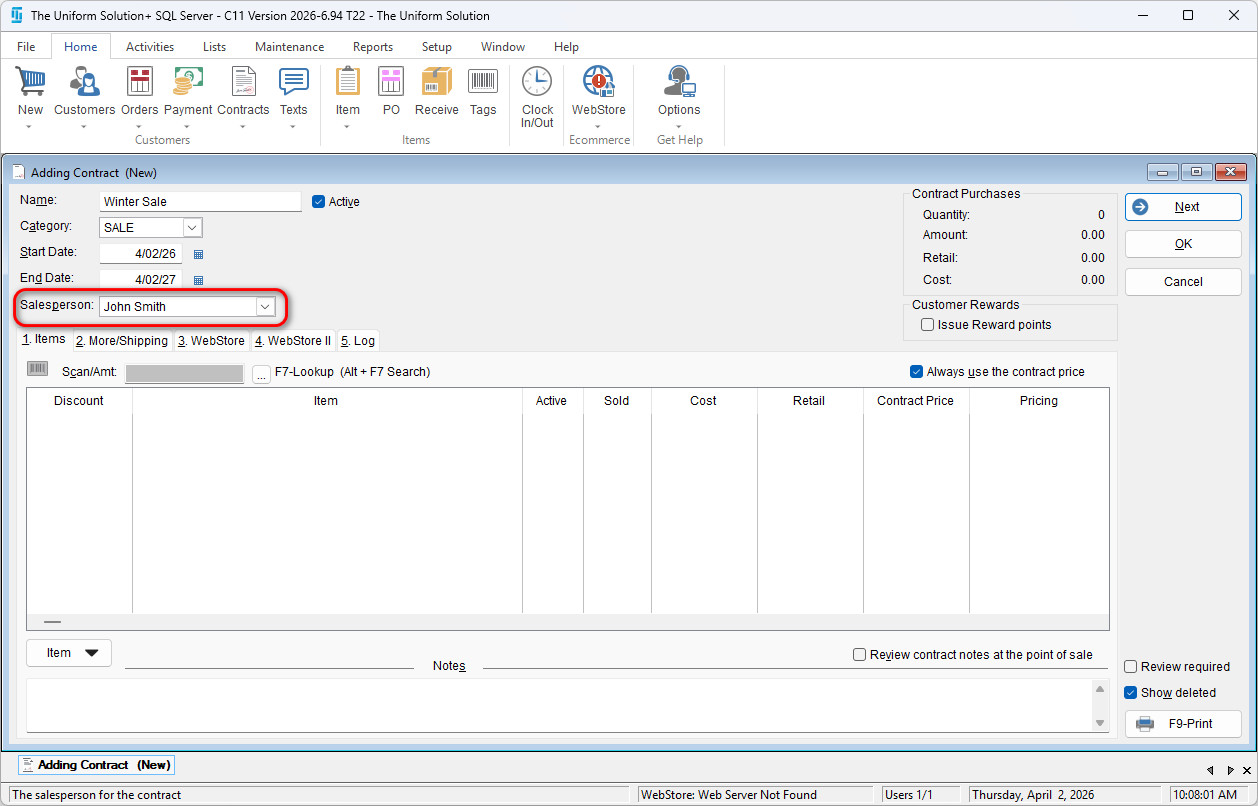
Name the Contract, and select the desired Category (or create a new one such as SALE).
-
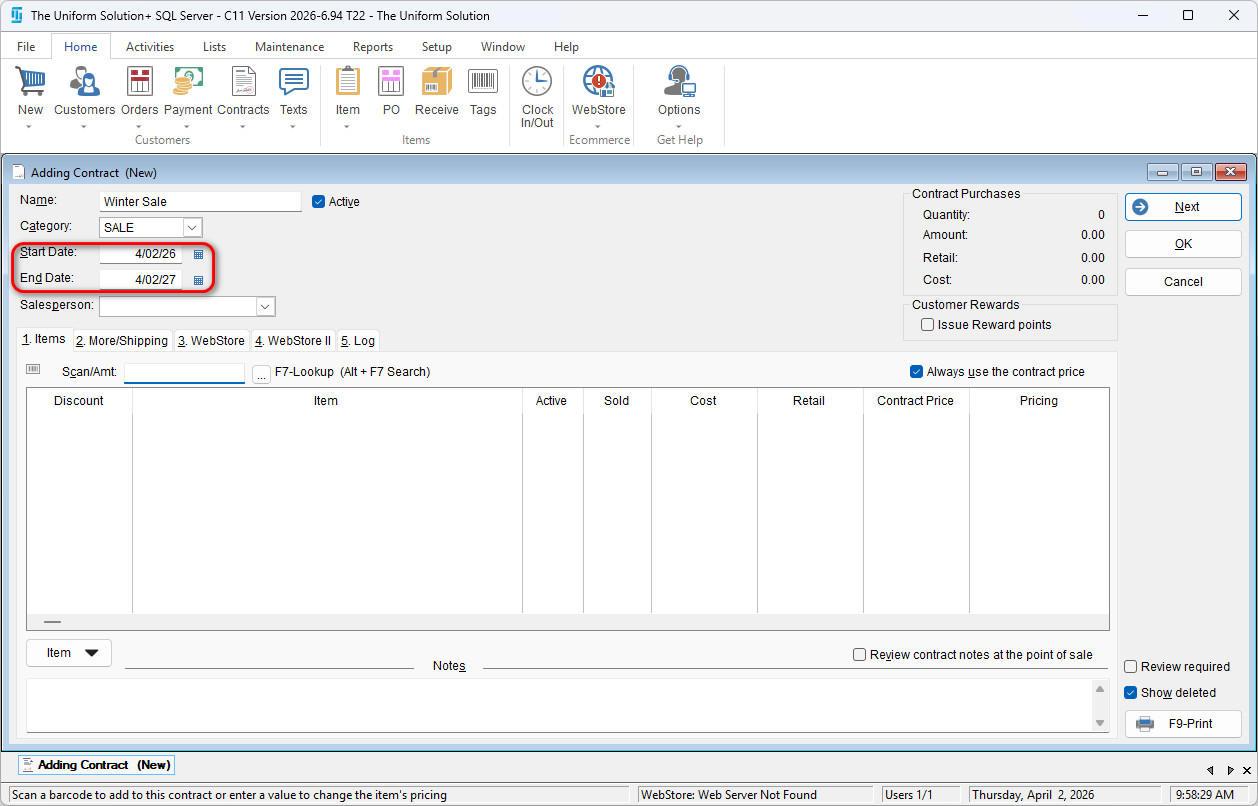
Decide on the desired Start Date and End Date.
-
Select a Salesperson if you wish.
-
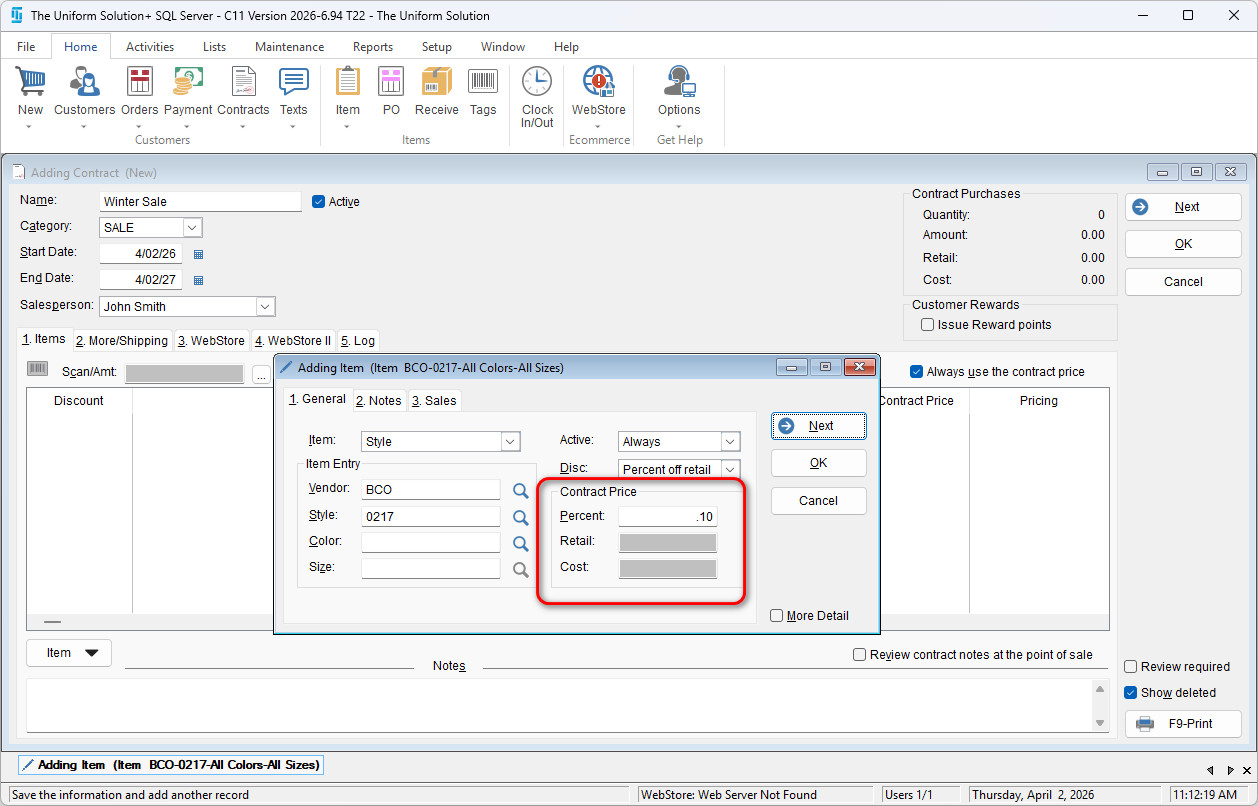
In the Scan/Amt: field enter the items that you wish to discount.
-
If you scan the items, you’ll need to enter the discount percentage after each scanned item.
-
If you use F7-Lookup, you’ll enter the discount percentage in the Contract Price section.
-

-
Once all of the desired items have been added to the contract, select OK to save the contract.
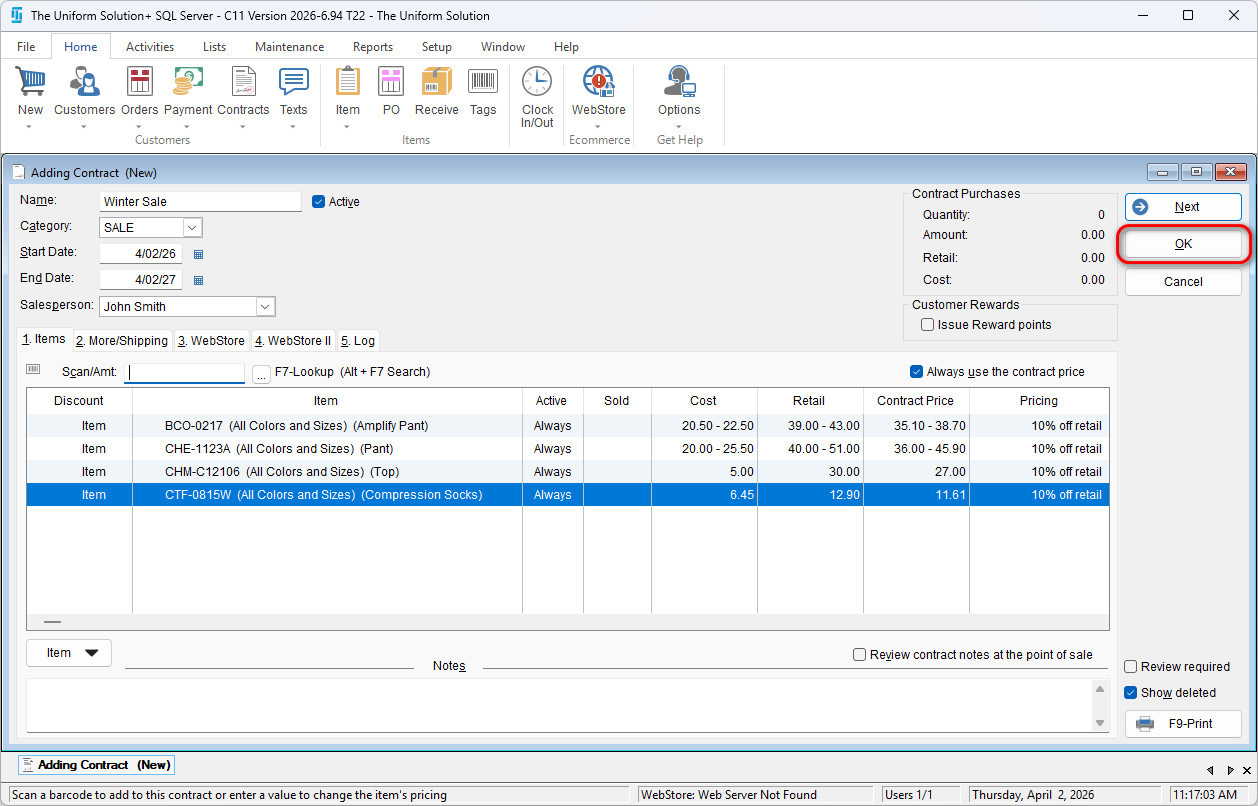
- Now we’ll need to configure the system to implement the contract and discount the items.
System Configuration
To configure your system to automatically discount the desired items,
-
Go to Setup > Store
-
On the Pricing tab under the Store Discounts section, select the drop down arrow next to Contracts
-
Select the desired contract.
-
Select OK to save your changes.

-
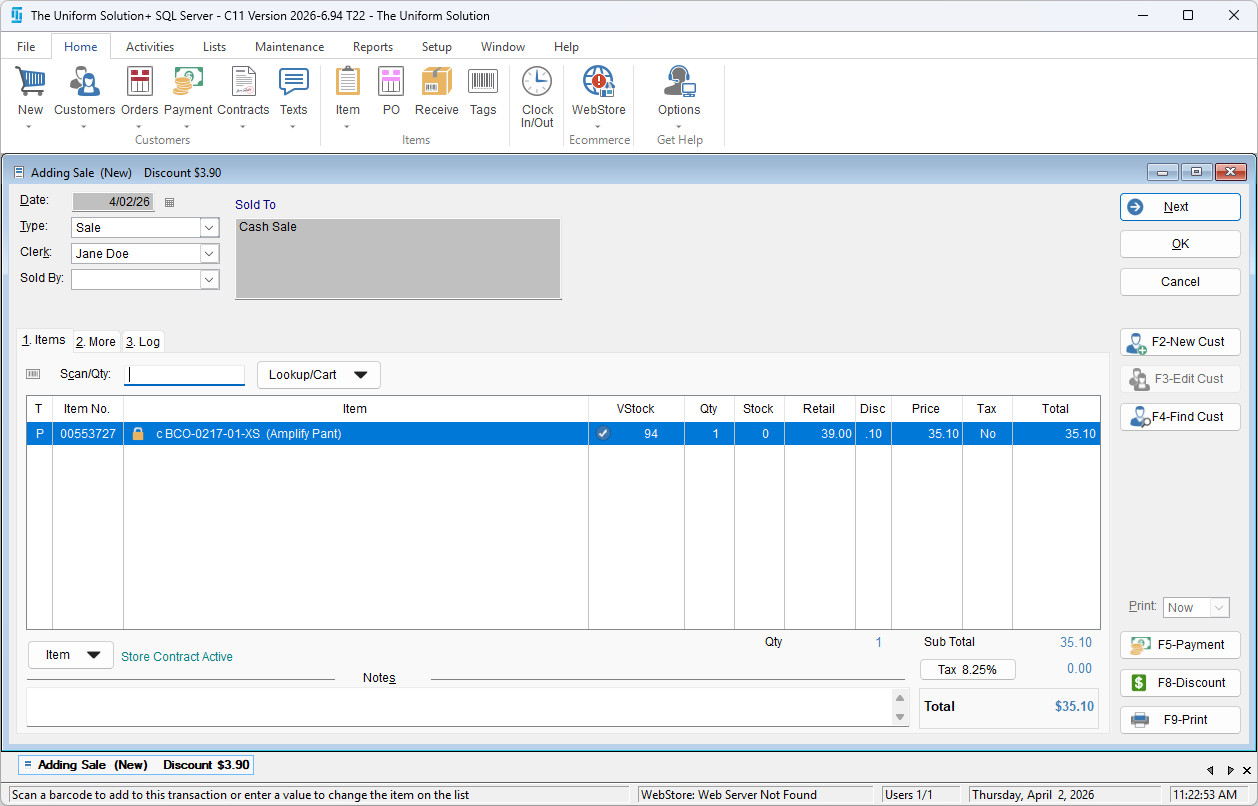
Once the changes are saved – you will now see the contract set to active on all sales and will automatically see the price be discounted for the items added onto the contract.
-