It is not necessary for the WebStore’s customer to have a PayPal account to make a credit card payment using PayPal processing.
If you have a PayPal business account you can skip to step 5 to complete the setup of PayPal as a payment option.
If you do not have a PayPal business account you’ll need to sign up for one before you can accept payments using the PayPal Website Payments Standard process implemented by the WebStore.
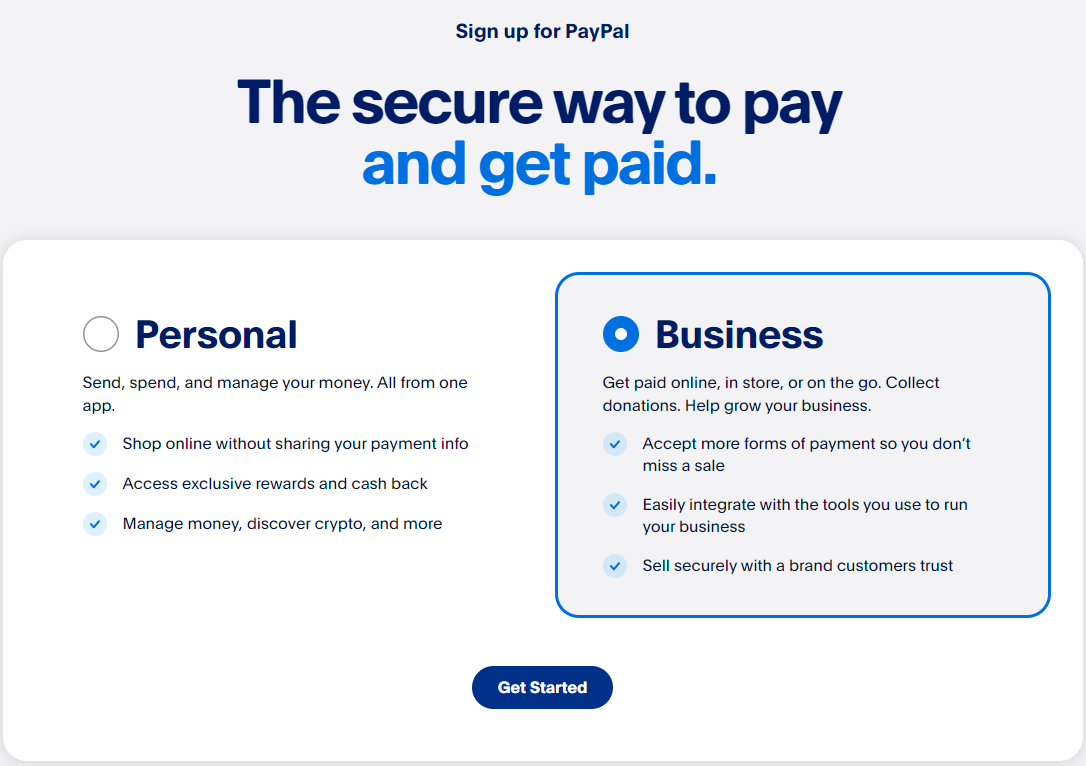
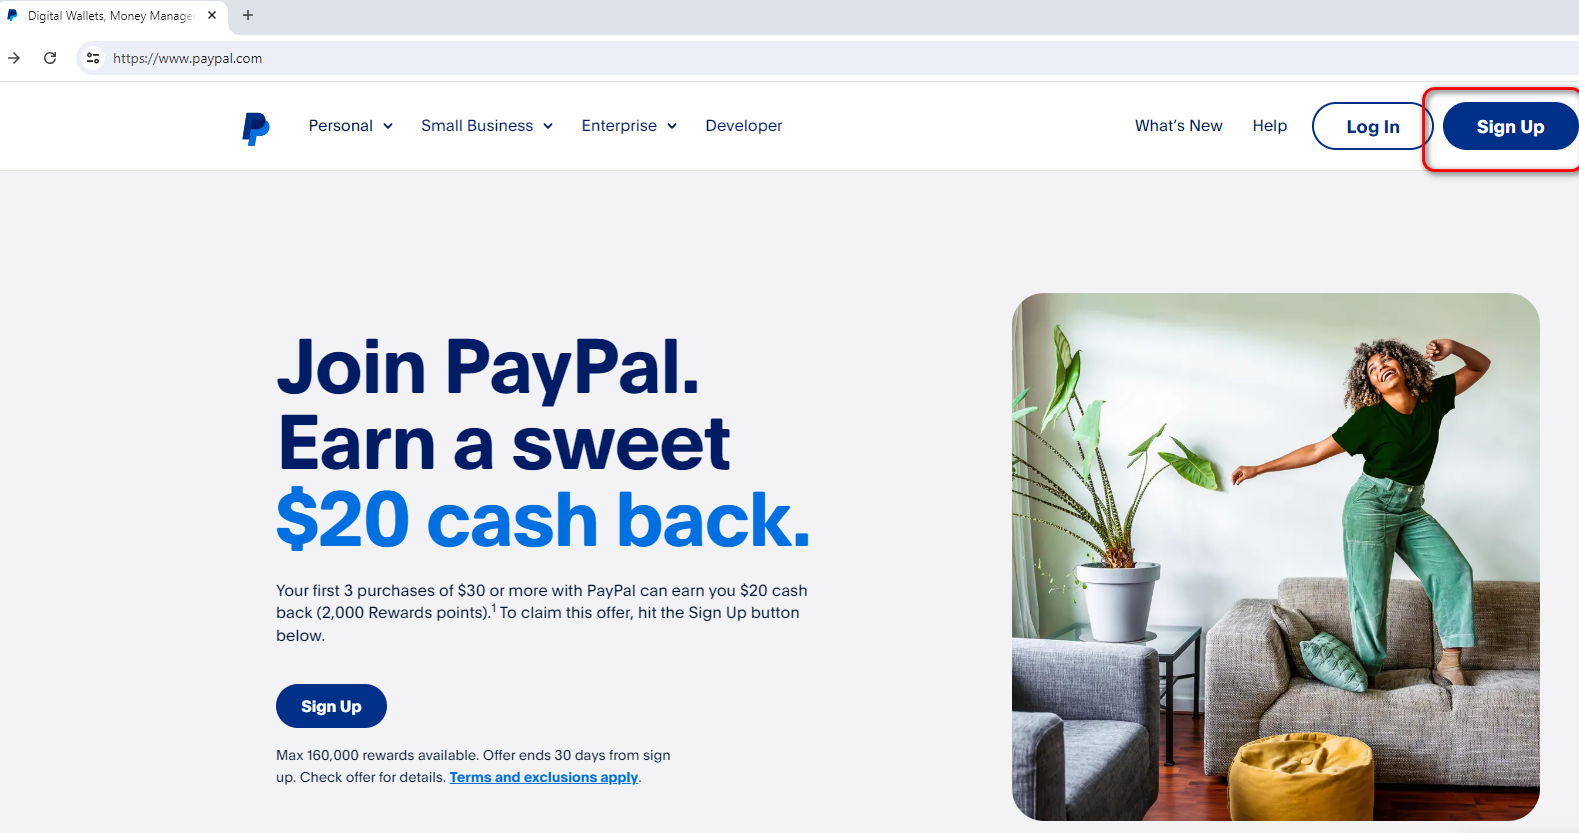
- To create a PayPal Business account go to https://www.paypal.com click on the Sign Up link:
- Select the Business option
- Input your information

- You will need to input your business information and tax ID at some point but you can skip it initially
- When you get to the home screen you will see where you need to confirm your email address and complete your profile
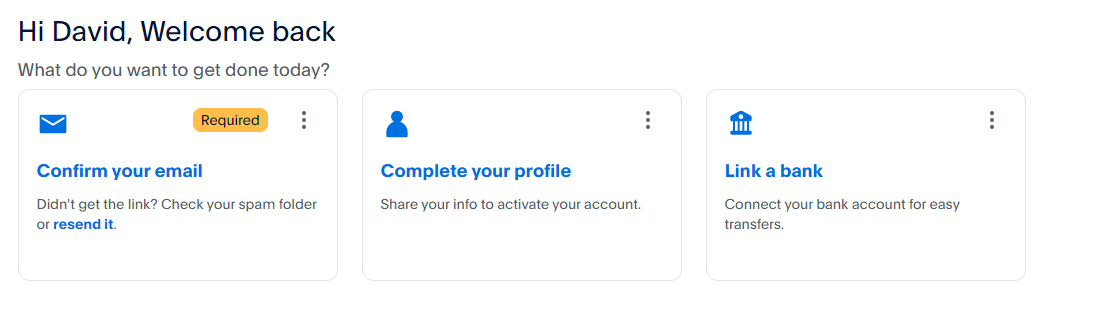 Make sure you update the 3 sections above with the required information
- Click on the Confirm your email section above to activate your account by checking the email address you entered while setting up your account. You will find an email message from PayPal. Click the Activate button or follow the instructions in the email to enter the confirmation number if the button doesn’t appear.
- If you haven’t created a payment option for PayPal, you should do so at this time. In the TUS software go to Setup | Payment Methods and add a Payment method named PayPal. Full instructions can be found in our Creating a New Payment Method KB article
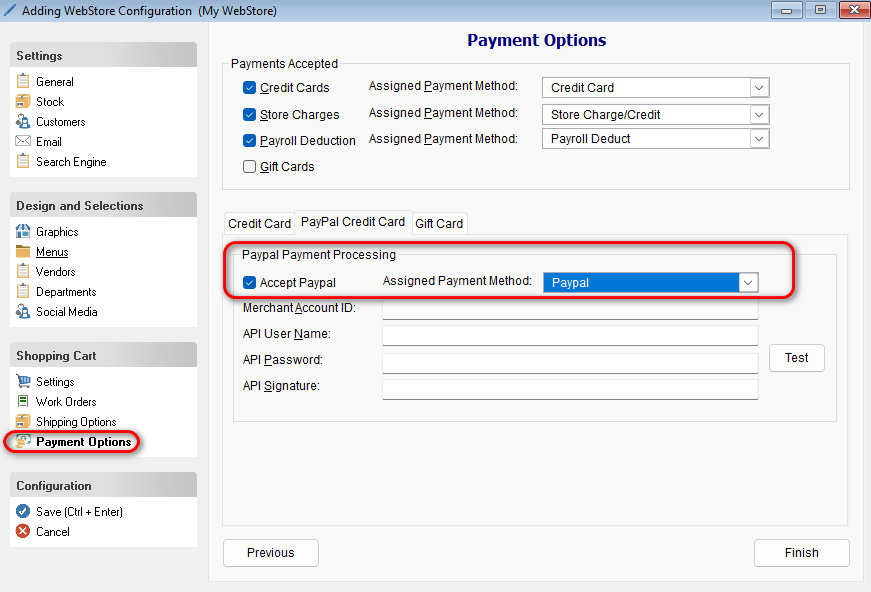
- Then go to Home > Click on the Webstore Icon > Click on Payment Options from the left menu. In the WebStore Configuration check the Accept Paypal checkbox and choose your PayPal payment method from the Assigned Payment Method drop list:
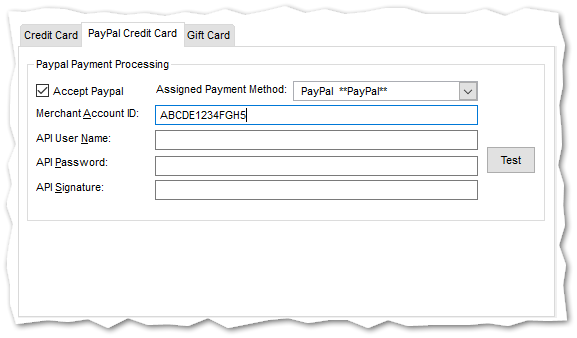
- Back in your PayPal account browser go to the Business information section and copy the Merchant account ID and paste it into the TUS active WebStore Configuration form’s Merchant Account ID: field.
- Back in your Paypal account > click the Pay Pal Account Settings menu option
- In your Paypal Account Settings in your browser, Click the Website payments item from the left menu. Then click the Update link on the API access line:
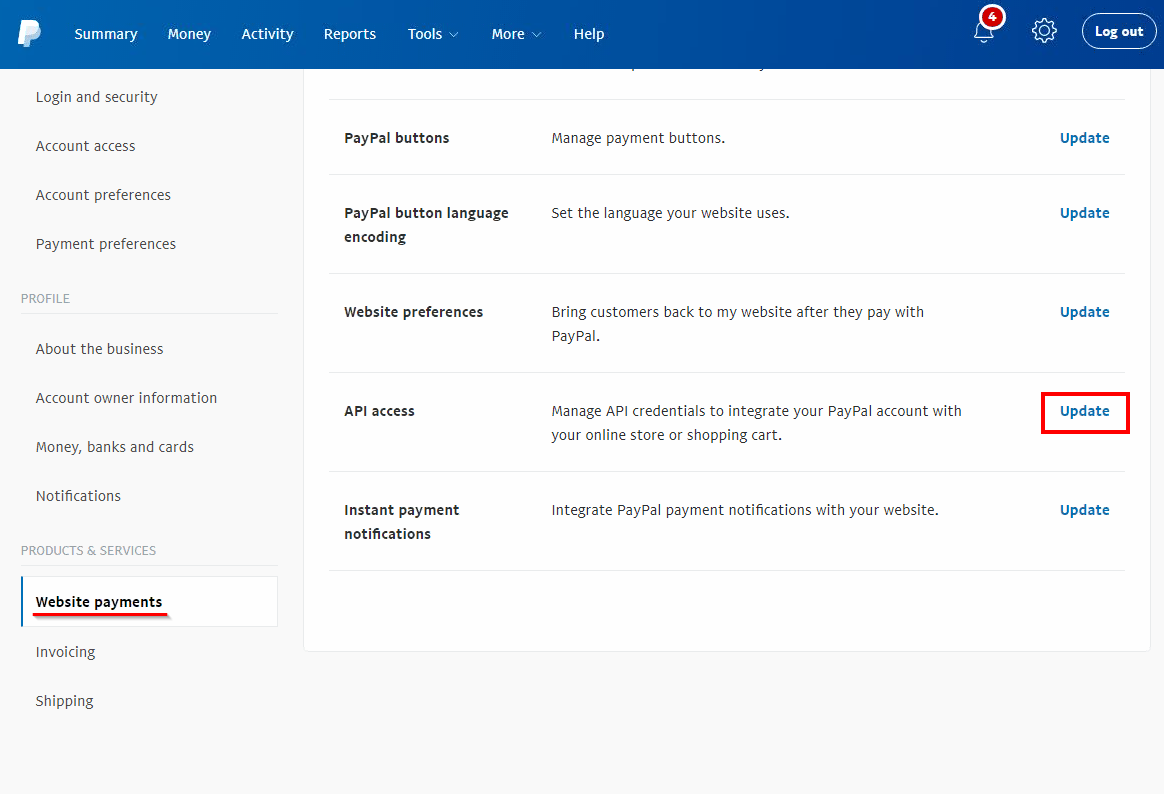
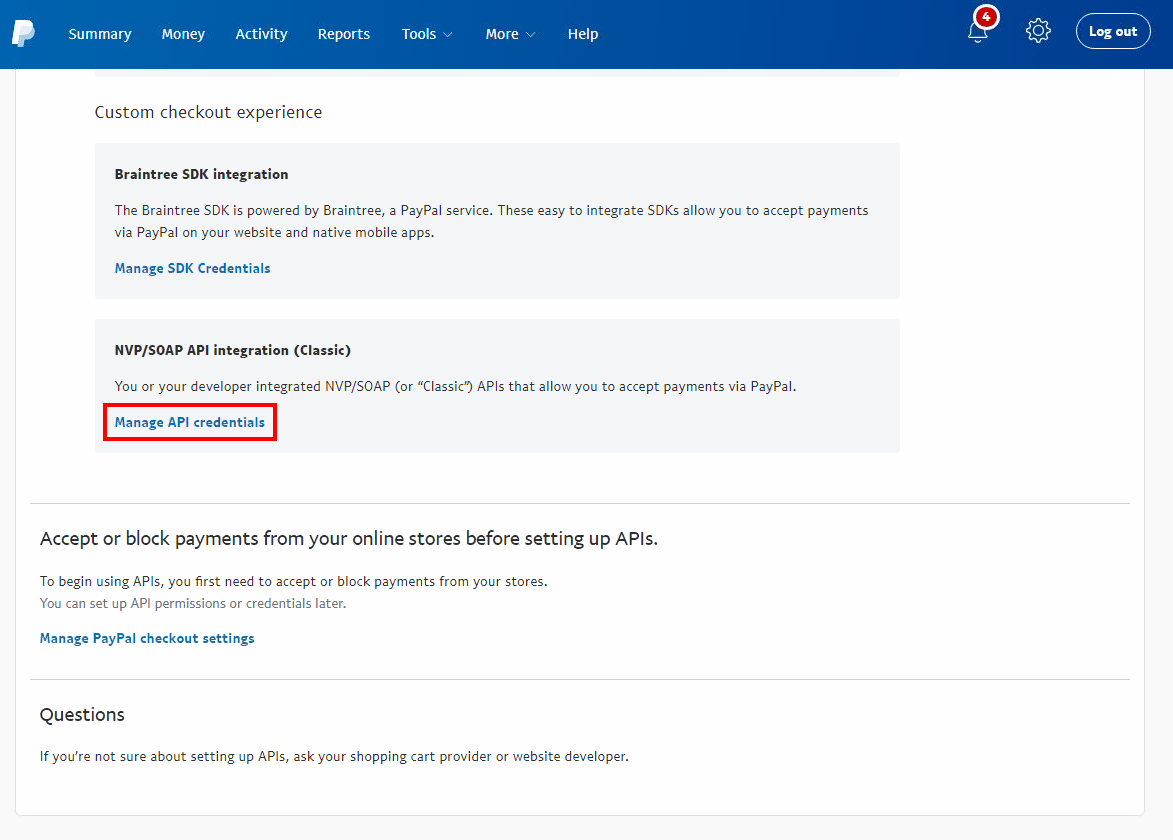
- Click the Manage API credentials link under the NVP/SOAP API integration (Classic) section:
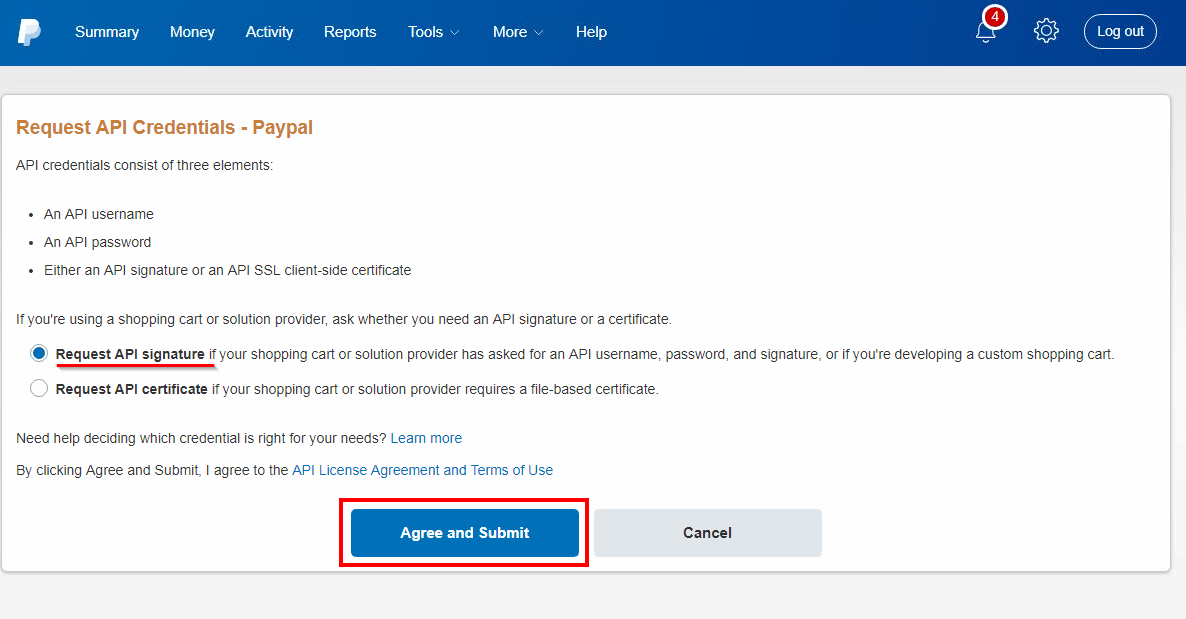
- Ensure that the Request API signature option is selected, read the API license agreement and terms of use, and click the Agree and Submit button:
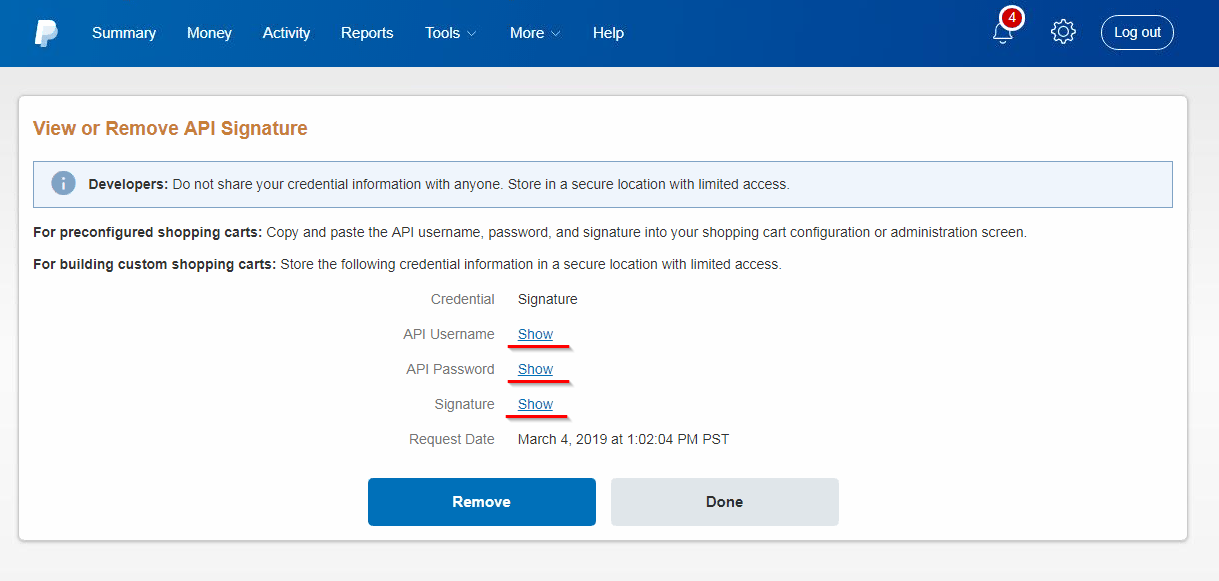
- PayPal will create credentials that the WebStore will use to process your customers’ payments through the shopping cart. You will need to copy the information from the PayPal website into your active WebStore configuration by clicking Show next to each field:
- Copy and paste the three items from the previous steps into your active WebStore Configuration: API Username to API User Name, API Password, and Signature to API Signature. After completing all of the fields, click the Test button and you should receive the validation message below:
- This message means that the WebStore was able to successfully communicate with PayPal using the credentials from your account. If you received another message, please check all four fields are correct and try again. The shopping cart will not work with PayPal until the validation is successful.
- The WebStore requires that you turn on the Auto Return setting. Instructions on how to do so can be found on Paypal’s site
- Under the Getting paid and managing my risk section, click the Update link on the Instant Payment Notifications line:

- The WebStore uses PayPal’s Instant Payment Notification (IPN) system to ensure the accuracy of the disposition of the hosted payment form. Details on how that is setup can be found on Paypal’s website
- PayPal will send test messages to the Notification URL and if you made a mistake entering the URL you should receive an email informing you that your site is not receiving the IPN messages. If you receive such an email, you should check the accuracy of the URL that you entered on this line by pressing the Edit settings button on the Instant Payment Notfication (IPN) page.