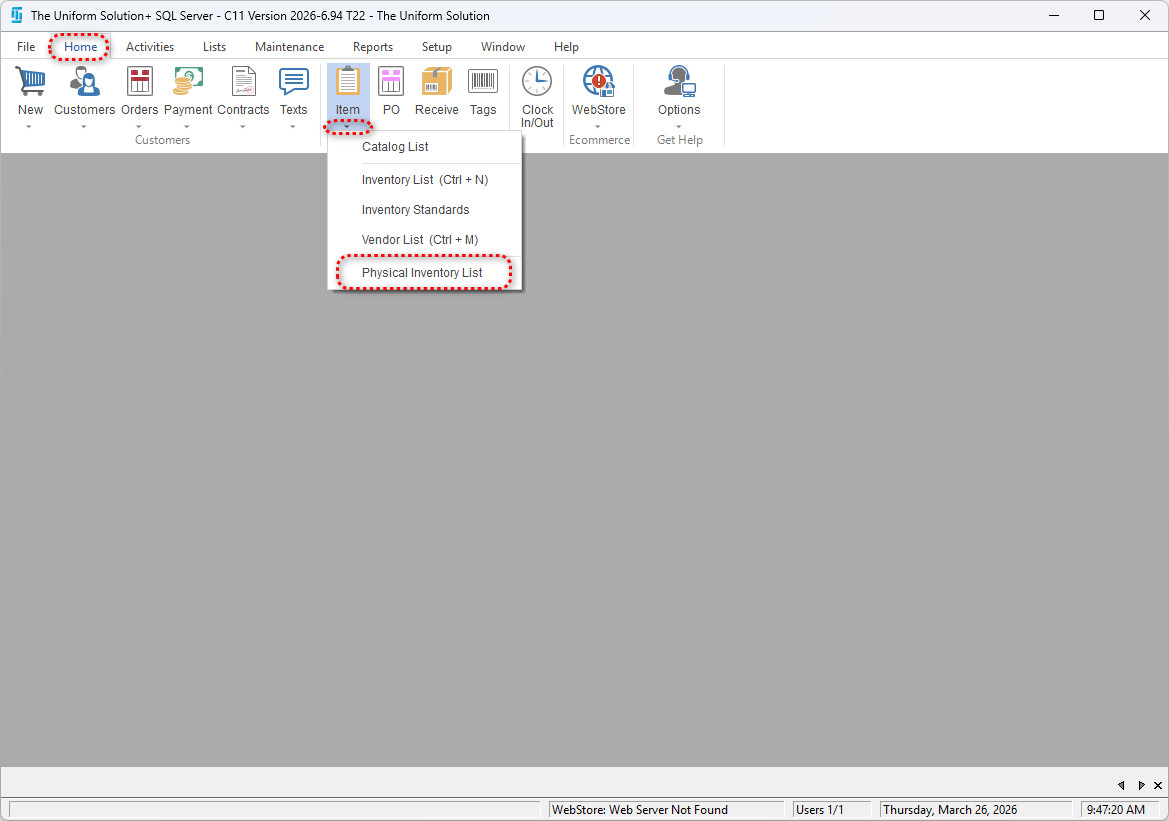
- Go to Home > Items (drop‑down menu) > Physical Inventory List.
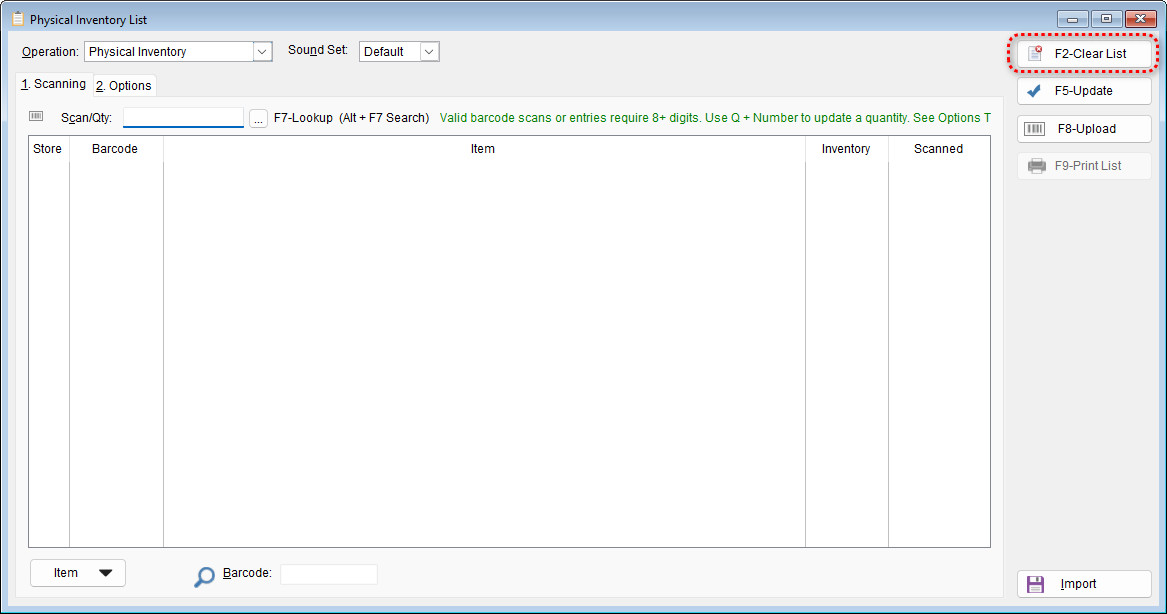
2. Clear the Current List
If there are already items on the list:
- Select F2 – Clear List
3. Begin Scanning Your Items
- Start scanning all items physically present in your store.
- Do NOT scan on‑hold items from:
- Special Orders
- Layaways
- Note: These totals are not adjustable through Physical Inventory.
4. Run Recommended Reports Before Updating
Before finalizing your physical inventory, run the following reports:
- Physical Inventory Exception Report
- Physical Inventory Comparison Report
Go to: Reports > Inventory > Physical Inventory
These reports help you:
- Compare scanned counts with current on‑hand quantities
- Identify discrepancies
- Catch missing or incorrectly scanned items
Running these reports is strongly recommended before updating inventory.
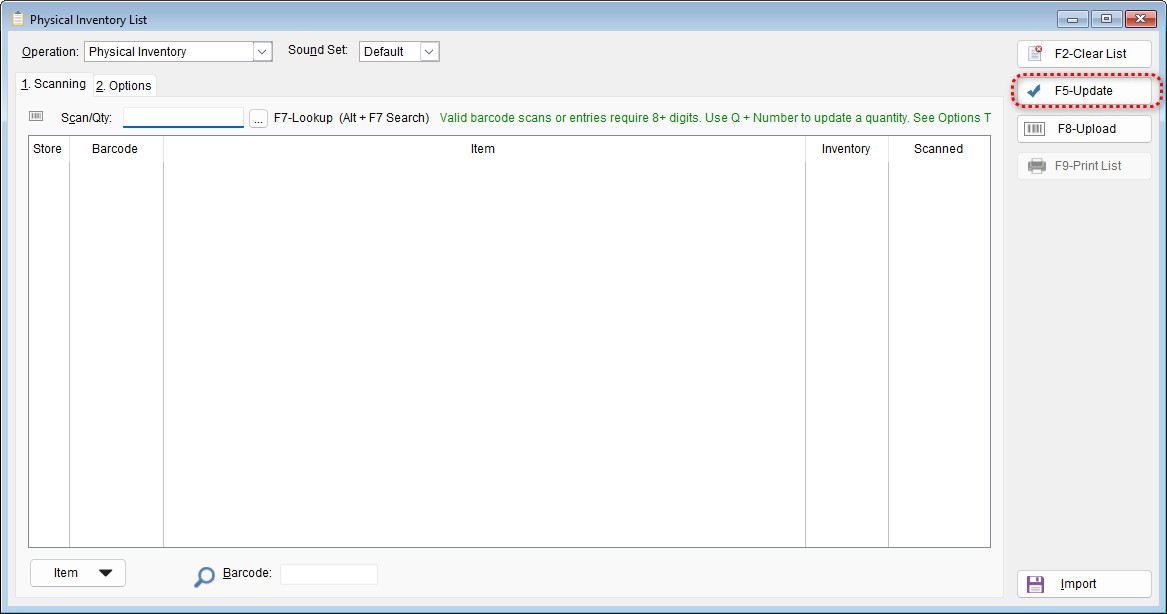
5. Update Physical Inventory
Once all items are scanned and reports have been reviewed:
- Select F5 – Update
Important Note:If the list has been cleared and no items are scanned, performing an update will set all stock quantities to zero. Use this function with caution to avoid unintentionally clearing your inventory.
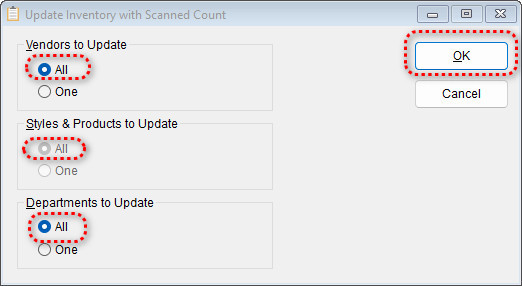
6. Configure Update Settings
In the Update Inventory with Scanned Count window:
Set all options to All:
- Vendors to Update: All
- Styles & Products to Update: All
- Departments to Update: All
After confirming selections, click OK.
If you prefer to update your physical inventory in smaller segments, you may choose to update by Vendor, by Style & Product, or by Department rather than updating everything at once.
7. Confirm the Inventory Update
A dialog titled Ready to Update Inventory? will appear.
- Read the message carefully.
- When you are ready to update your entire inventory, select Yes.

✅ Physical Inventory Complete
Congratulations! You have successfully completed a physical inventory.
Your on‑hand quantities now accurately reflect what is physically in your store.